
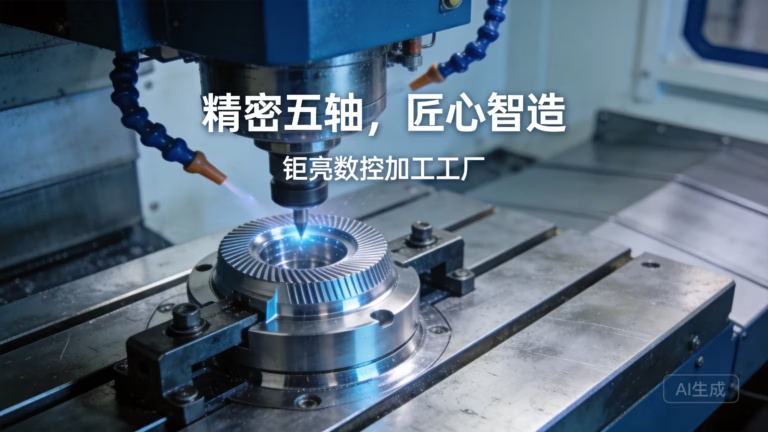
When precision matters, achieving flawless engraving every time with a Neje CNC Laser demands more than just pushing a button—it requires a systematic, engineering-driven approach. I’ve spent over a decade in manufacturing, overseeing everything from rapid prototyping to full-scale production of mission-critical metal components, and I’ve learned that the same discipline that yields perfect CNC-machined parts applies equally to laser engraving. Below, I’ll share the professional secrets that elevate Neje laser results from “acceptable” to exhibition-grade, and then explore how laser marking fits into the broader landscape of advanced manufacturing, including the role of 5-axis CNC machining when your project outgrows surface treatments.
Neje CNC Laser: 7 Pro Secrets for Flawless Engraving Every Time
The Neje range of diode lasers offers remarkable accessibility for hobbyists and professionals alike, but unlocking repeatable, high-contrast engravings requires more than default settings. Through extensive material testing and process documentation, I’ve distilled the most impactful techniques. These aren’t generic tips—they’re the result of analyzing thousands of laser jobs and applying industrial quality control principles.
1. Dial In Absolute Focus With a Ramp Test
Laser focus is not a “set it and forget it” variable. The difference between a crisp 0.1 mm line and a fuzzy burn mark often comes down to focal height variation of less than 0.5 mm. Use a ramp test: place a flat piece of stock on a slightly inclined surface so the laser head height changes gradually across the work area. Run a simple line engrave, then examine under magnification to find the thinnest, darkest line. Lock that Z-height and mark your fixture accordingly. For repeat jobs, create a dedicated focus gauge block out of aluminum using a precision CNC machining process to ensure zero drift over time.
2. Engineer the Surface Before You Engrave
Raw material surfaces are rarely ideal for laser interaction. Mill scale on steel, oxidation on aluminum, or mold release on acrylic can scatter the beam and reduce contrast. For metals, a quick pass with isopropyl alcohol and a lint-free wipe is the minimum. To maximize contrast on stainless steel without chemical sprays, pre-treat the surface with a fiber laser marking compound or ceramic-based marking paste. On organic materials like wood, sanding to a consistent 320 grit eliminates grain variations that cause patchy engraving. I keep a set of coupons made from the exact same material batch; these are machined on a 3-axis CNC to replicate the final part’s surface finish, ensuring my laser parameters translate perfectly.
3. Balance Power and Speed With a Transfer Function
Every Neje model has a power‑speed envelope where the material removal rate is optimal without thermal distortion. Instead of guessing via test grids, think like a machine tool operator: the goal is to find the specific energy (Joules per mm²) that vaporizes or color-changes the target without excessive heat‑affected zones (HAZ). For example, on 304 stainless with a 5.5W optical output, a power of 80% and speed of 1500 mm/min often yields a black oxide mark with minimal burr. Build a simple table for your most-used materials, mapping power (10‑100%) and speed (500‑3000 mm/min) to the achieved line width and depth. This transfer function becomes your processing bible and slashes setup time by up to 70%.
4. Use Air Assist Strategically, Not Just for Cooling
Air assist is often pitched as a way to prevent flaming on wood or acrylic, but its real pro-level benefit is debris clearing. At the micro scale, engraving ejecta can sit in the kerf and reflect or absorb the next laser pulse, causing inconsistent marking. A directed, oil‑free air stream (as low as 10 PSI) blows out microparticles, giving you continuous beam-to-material contact. For metals, I’ve even used a nitrogen purge when deep engraving stainless to prevent oxidation yellowing, a trick borrowed from CNC mill‑turn operations where shielding gas preserves surface integrity. Make sure your nozzle is positioned so the air jet trails the beam direction, pushing debris into already-engraved areas.
5. Maintain Optics as You Would a High-End Spindle
A dirty lens on a Neje is the equivalent of a chipped insert on a lathe—it compromises everything downstream. Inspect the protective window and the collimating lens weekly under oblique light. Even a thin film from off‑gassing materials can cut power output by 30% and create hot spots. Clean only with lens-grade swabs and pure isopropyl alcohol (≥99.8%), never with tissue or compressed air that could leave residue. If you’re running production, track laser diode hours and plan proactive replacement at 80% of rated life; a fading diode will cause you to chase your tail with ever-increasing power settings that eventually overdrive the driver board.
6. Master Software Settings for True 8-Bit Engraving
Lasergrbl or LightBurn gives you deep control, but many users overlook the interplay between DPI, line interval, and scanning offset. For photos on Neje modules with a rectangular spot, set your DPI to match the actual laser spot size (e.g., 0.15 mm spot → ~169 DPI). For filled engravings, adjust line interval to about 70% of spot diameter for uniform fill without visible lines. Use the “overscan” feature if your machine exhibits backlash at direction reversals; this ensures consistent power delivery right up to the edge. I always run a boundary box first at 1% power to verify placement—this quick check prevents scrapping a part that might have already gone through expensive earlier operations like sheet metal forming or EDM.
7. Standardize Testing and Keep a Digital Parameter Library
The highest‑performing machine shops don’t leave setups to memory; they document everything. Likewise, create a standardized test coupon—say, a 25 mm x 25 mm square with concentric circles and sample text—and run it for every new material batch. Photograph the result, measure line width and depth with a calibrated microscope, and log it alongside the exact settings, ambient temperature, and humidity. Over time, you’ll discover subtle trends (e.g., anodized aluminum from supplier B needs 3% more power) that prevent rejects. This methodical mindset is identical to what we use in ISO 9001‑certified manufacturing environments, where traceability is mandatory.
From Laser Marking to High‑Precision Manufacturing: The Complete Ecosystem
Now that your Neje is delivering gallery‑worthy engravings, it’s worth stepping back to see where laser marking fits into the larger world of custom parts production. Whether you’re personalizing promotional items or adding 2D data matrix codes to aerospace brackets, the engraved mark is often the last step applied to a component that has already undergone intense precision engineering. For those foundational manufacturing stages—milling, turning, drilling complex 3D contours—the technology of choice is undoubtedly 5-axis CNC machining.
5-axis CNC machining enables the production of intricate geometries that are impossible with traditional 3‑axis machines, all while holding tolerances down to ±0.001 mm. This capability becomes essential when your laser‑engraved part needs a supremely accurate mechanical fit, such as in robotic surgical instruments or automotive engine housings. As a senior engineer at GreatLight CNC Machining, I’ve witnessed how bridging world‑class machining with precise surface identification transforms raw stock into mission‑ready assemblies.
Why the machining source matters
Many rapid prototyping services exist, from network‑based platforms like Xometry and RapidDirect to vertically‑integrated specialists like Protolabs Network and Fictiv. While these players have brought convenience to the industry, they often operate as intermediaries, aggregating orders and outsourcing production to a fragmented network of smaller shops. This model can introduce variability in quality, delays in communication, and a lack of ownership when complex issues arise.
In contrast, GreatLight CNC Machining operates three wholly‑owned manufacturing plants spanning 76,000 sq. ft., housing 127 sets of advanced equipment including large‑format 5‑axis, 4‑axis, and 3‑axis CNC machining centers, as well as EDM, grinding, and additive manufacturing machines. Unlike brokers, we directly control the entire process chain—from raw material inspection through final quality audit—under one roof. Our team of 150 skilled professionals has been delivering precision prototypes and production parts since 2011, serving industries where failure is not an option: medical devices, humanoid robot components, aerospace engine hardware, and next‑generation automotive systems.
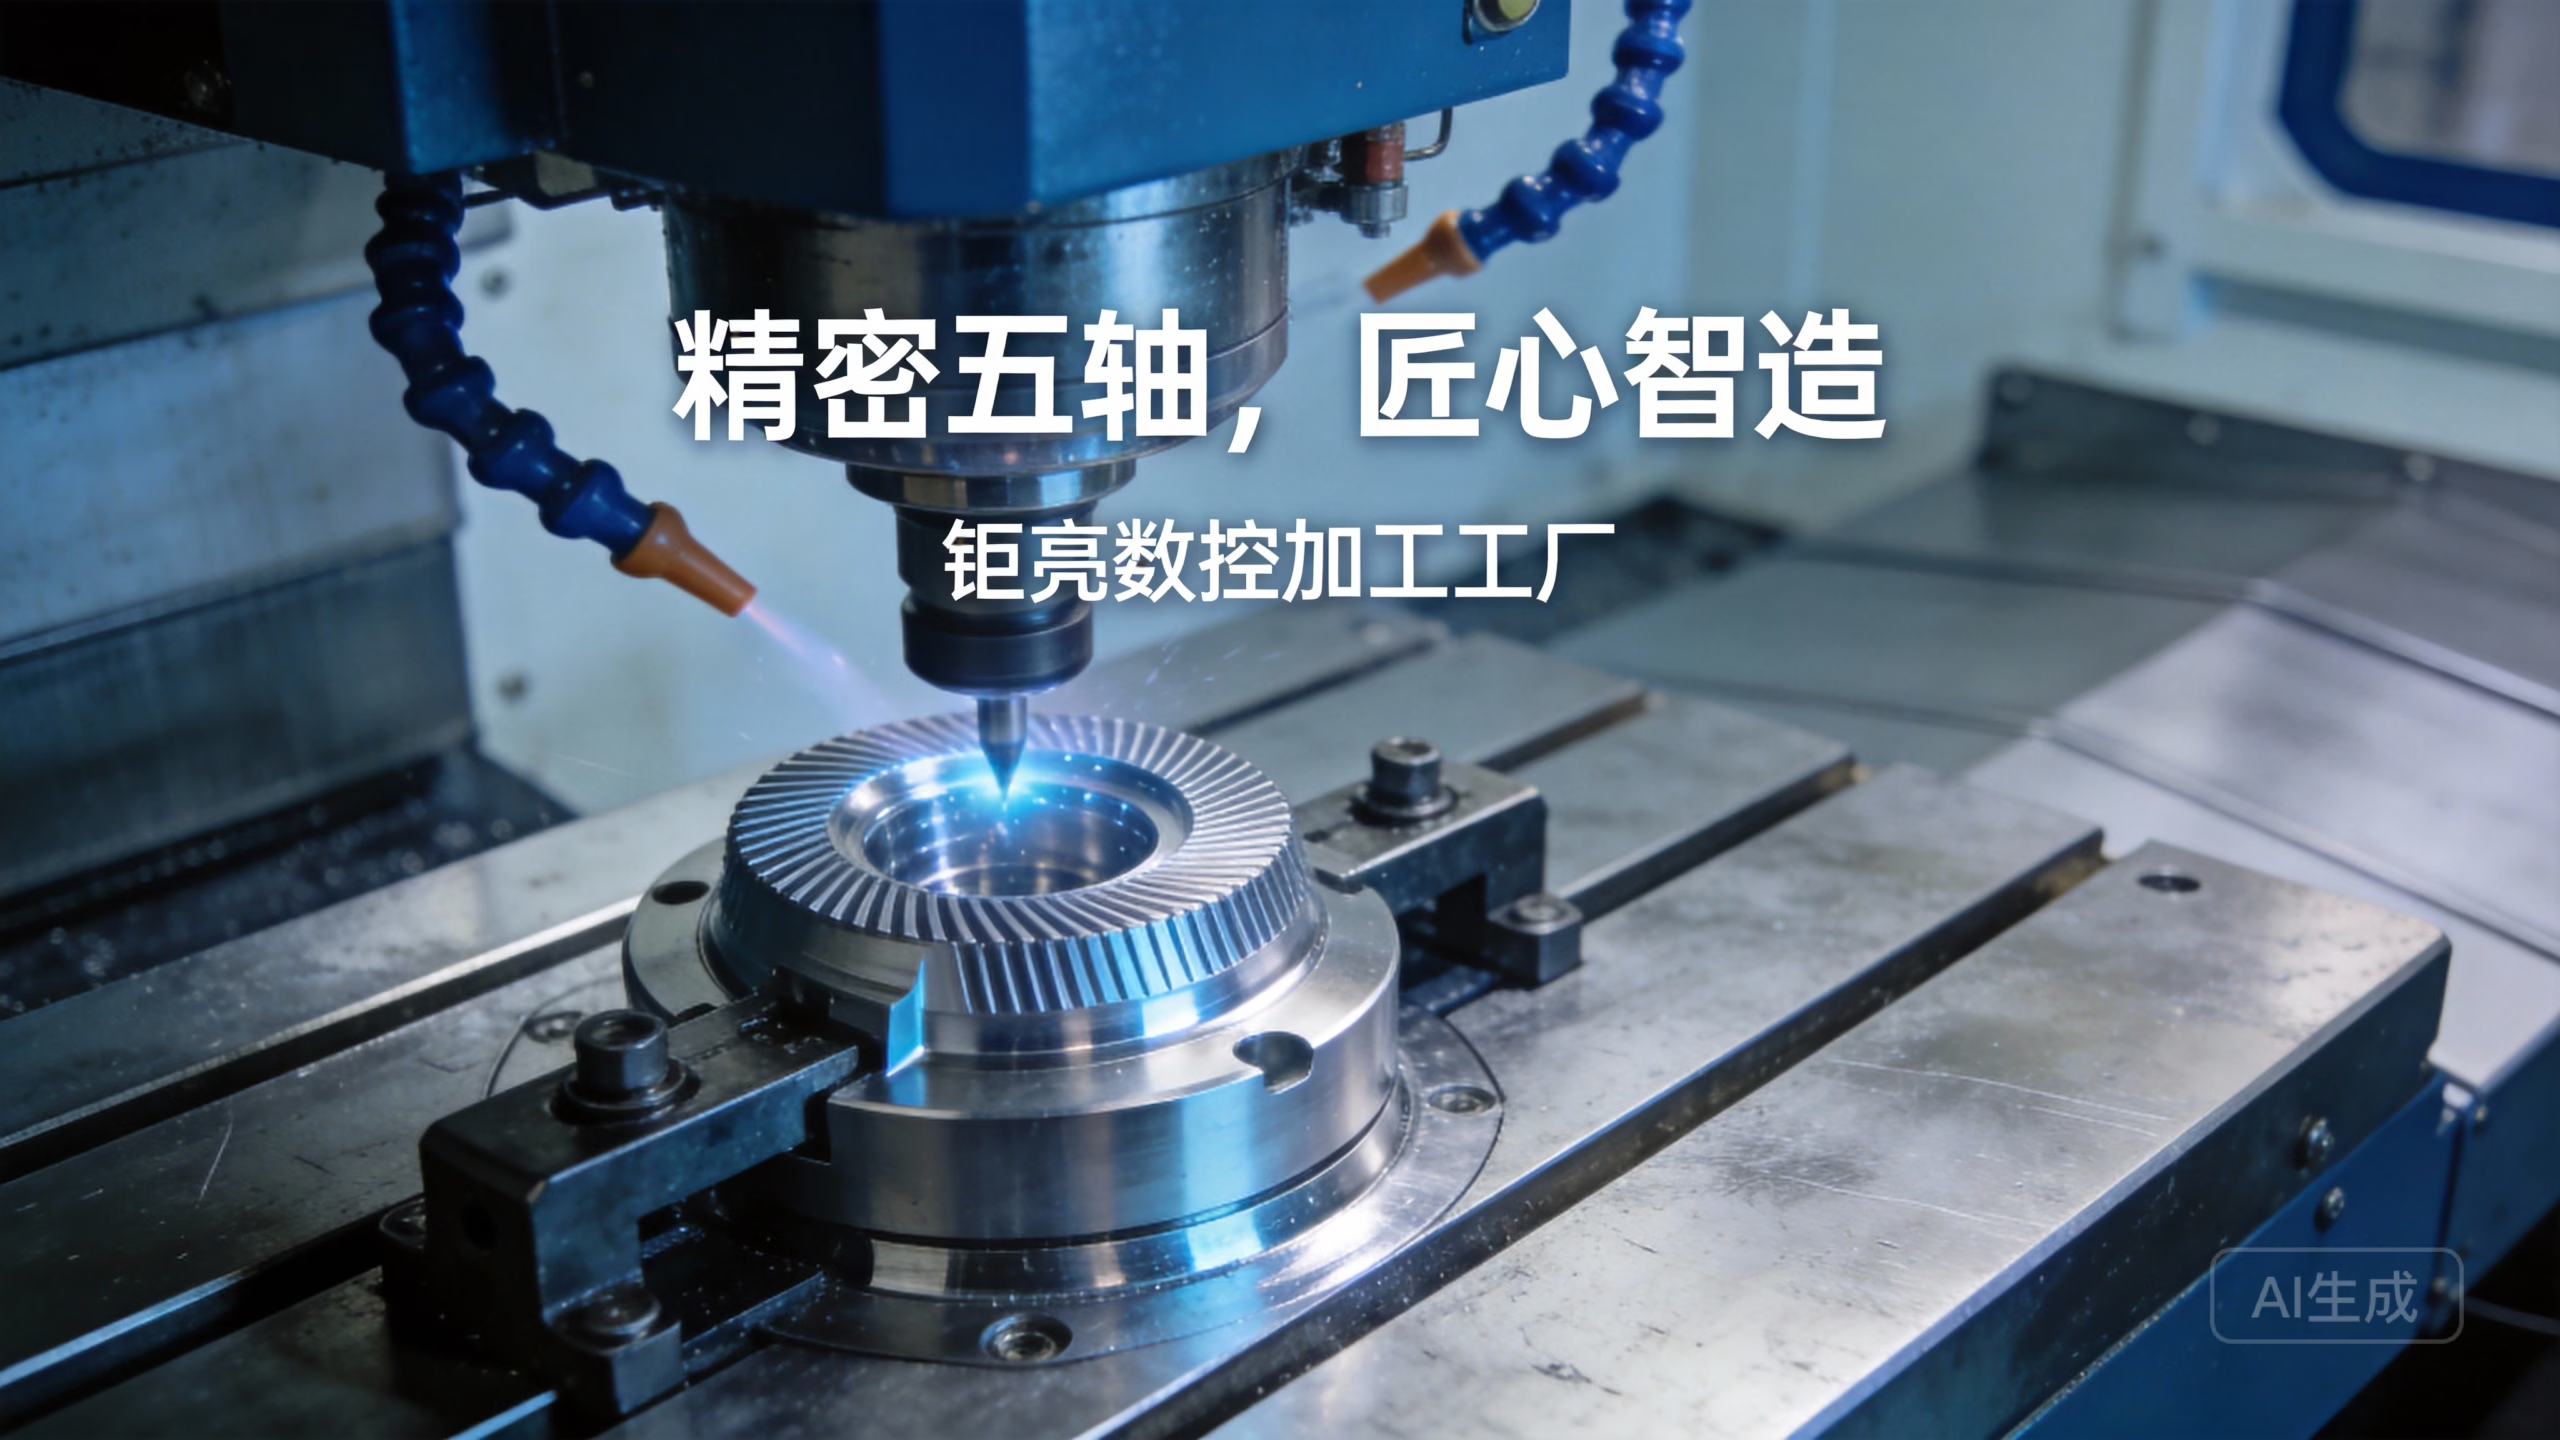
What truly sets GreatLight apart, however, is our certification backbone. We are not merely “ISO compliant” on paper; we rigorously maintain:
ISO 9001:2015 for overall quality management,
ISO 27001 for data security (critical for IP‑sensitive projects),
ISO 13485 for medical hardware production,
IATF 16949 for automotive and engine component supply chains.
These certifications are supplemented by in‑house precision metrology equipment that verifies every critical dimension, ensuring that the part you receive matches your 3D model with absolute fidelity. And if a quality issue ever does slip through, we back it with a guarantee: free rework, and a full refund if rework is unsatisfactory.
A one‑stop journey from blank to finished product
Consider a typical project: a custom electronics enclosure for a medical device startup. The housing requires complex internal pockets machined from 6061 aluminum, threaded inserts, and later a clear anodized finish. Finally, the front panel needs a crisp laser‑etched logo and regulatory markings. A broker might route the machining to one vendor, the finishing to another, and leave you to source engraving independently. GreatLight, by integrating CNC machining, die casting, sheet metal fabrication, 3D printing (SLM/SLA/SLS), and a full suite of post‑processing services (anodizing, powder coating, bead blasting, etc.), becomes a single accountability point. You receive an enclosure already surface‑treated and ready for your Neje laser to apply the final personalized touch—saving weeks of procurement time and eliminating finger‑pointing.
Our maximum machining envelope of 4000 mm further means we can handle components as large as automotive body panels or as micro‑precise as Swiss‑type lathe parts. The breadth of materials—from titanium and Inconel to engineering plastics like PEEK—ensures your laser engravings sit on substrates perfectly tuned to your operational environment.
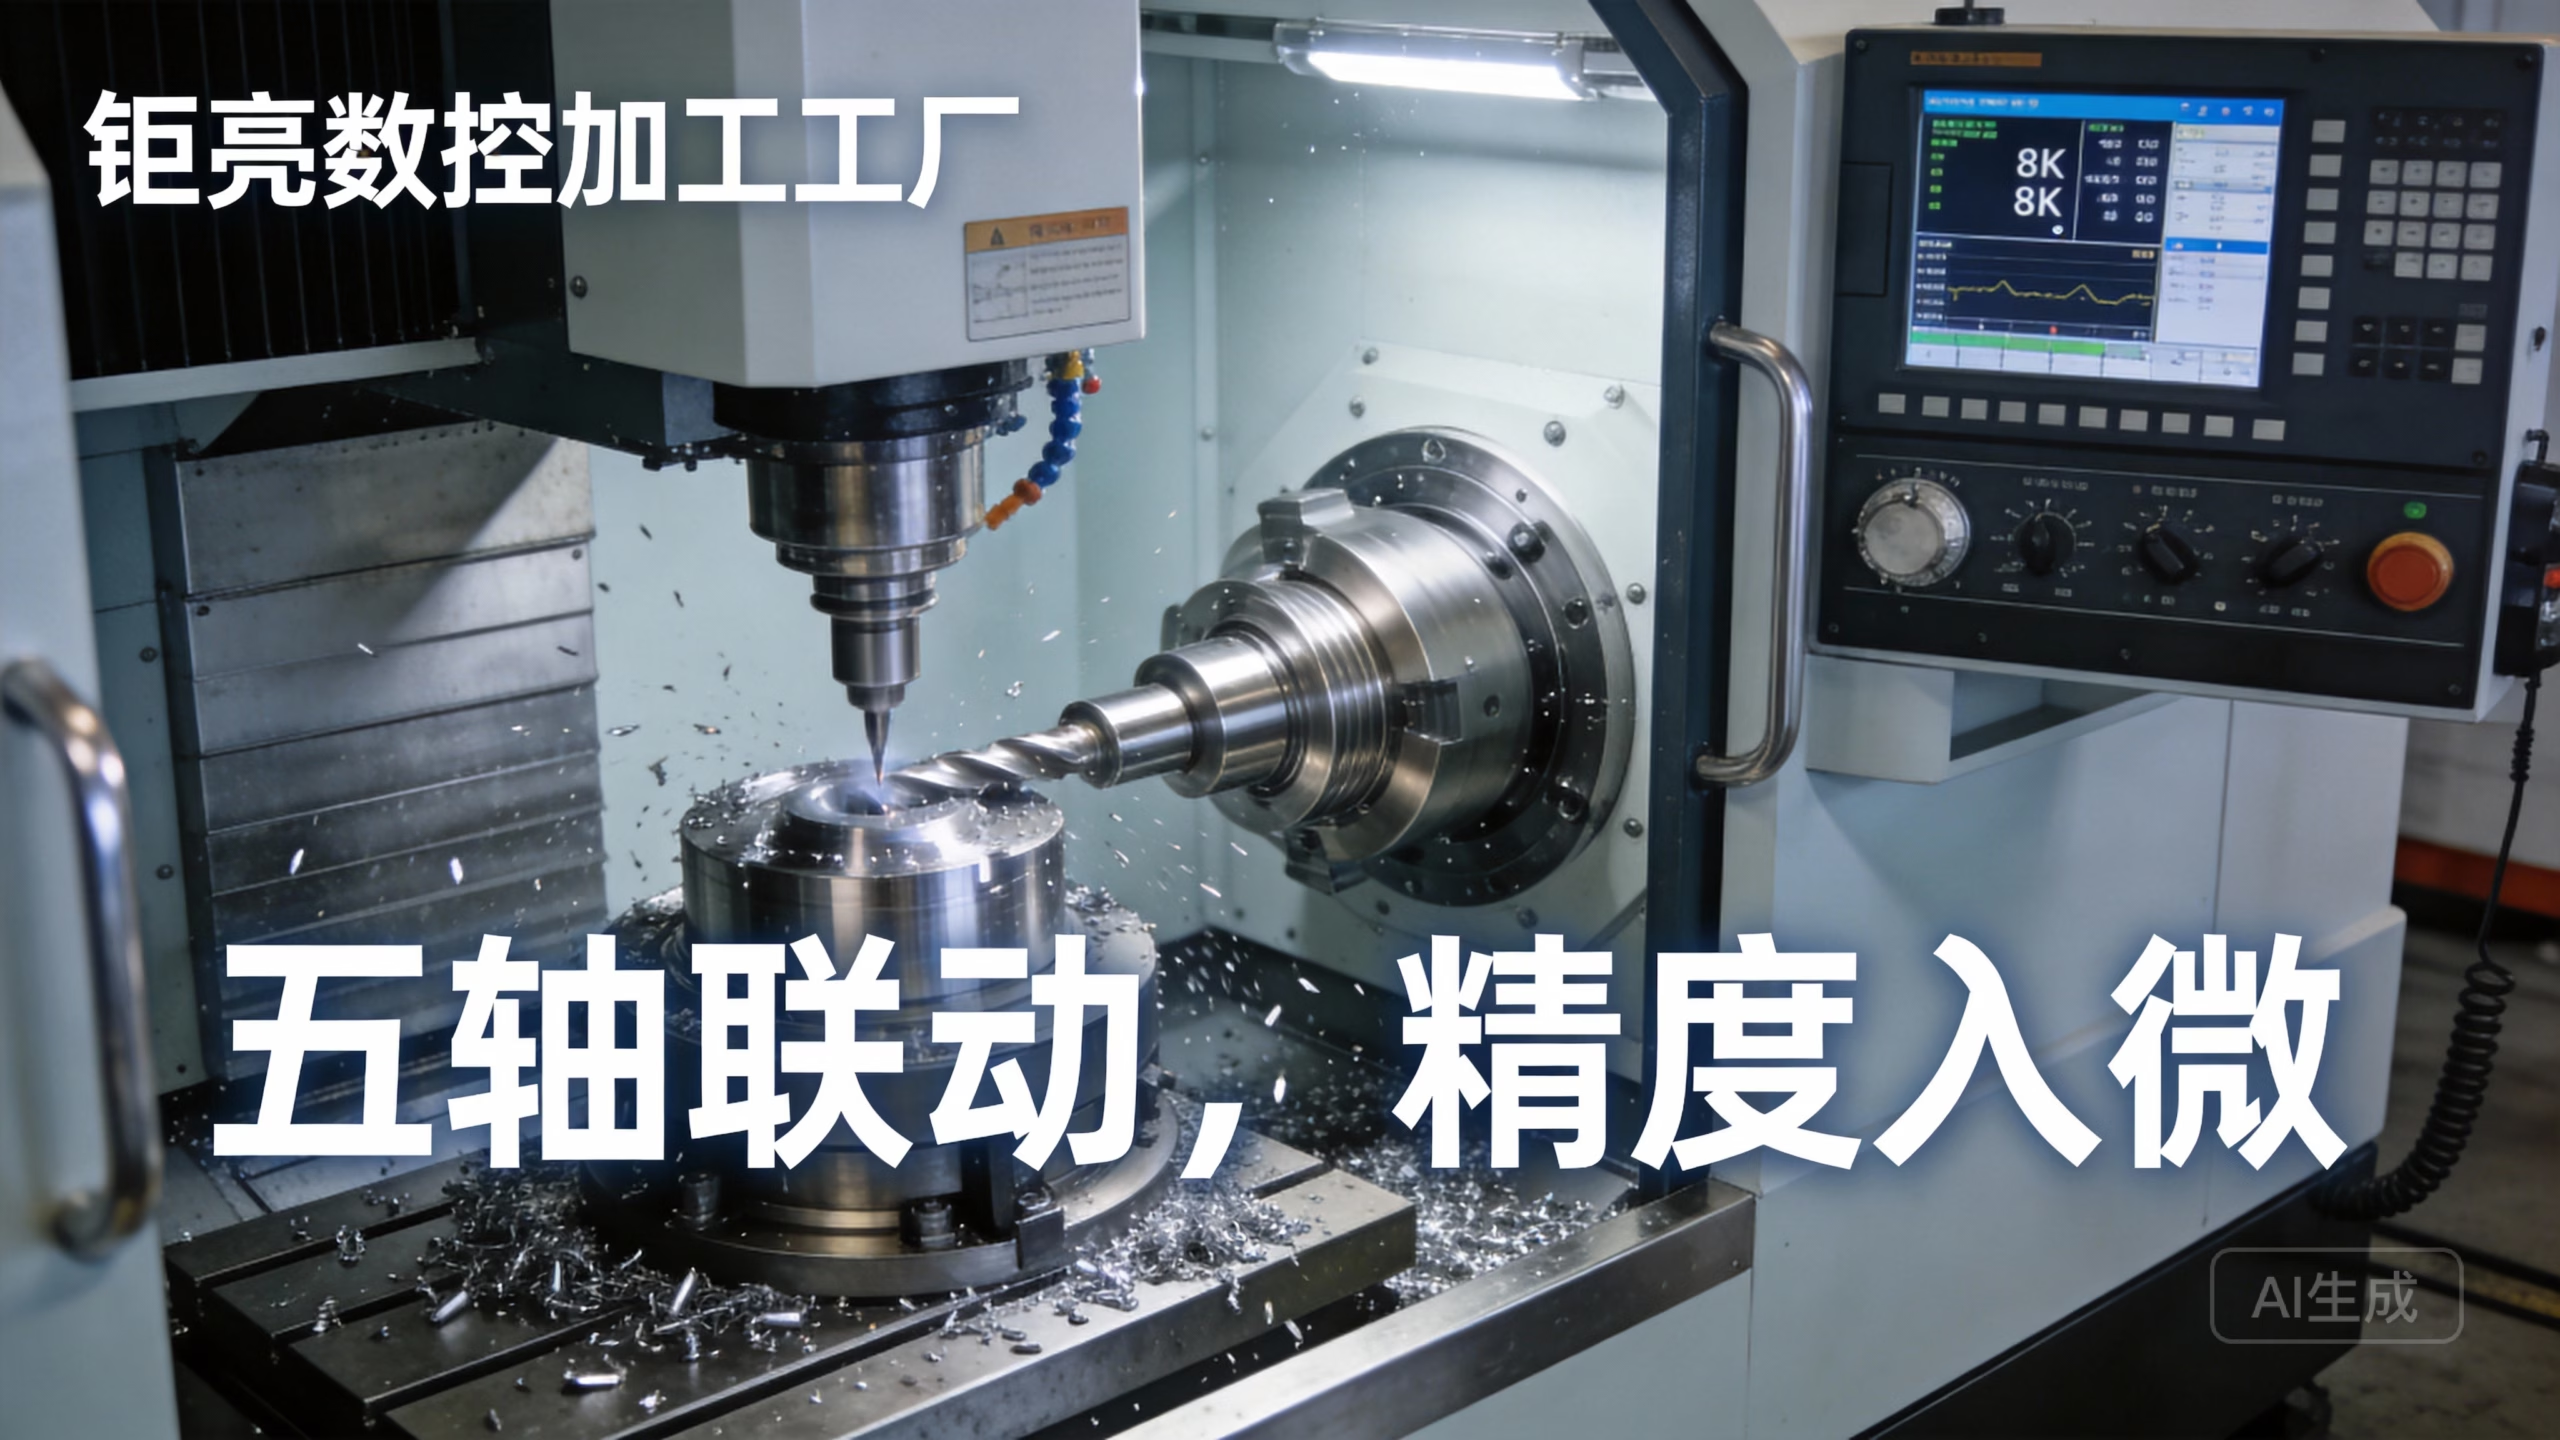
By pairing the desktop agility of a Neje CNC laser with industrial‑strength manufacturing from a trusted partner, you create a streamlined pipeline where each technology does what it does best. Your settings library from Secret #7 becomes even more powerful when it’s populated with data from production‑grade, meticulously machined substrates—because the flattest, cleanest surfaces always engrave the most consistently.
In closing, applying these seven pro secrets will transform your Neje CNC laser into a tool that produces flawless engraving every time. And when the project calls for the metal, plastic, or composite parts that deserve those marks, remember that the same obsessive attention to detail drives every GreatLight machining operation—from five‑axis contouring to final inspection—so your complete product vision comes to life without compromise.



















