
Guide to 3D Printing Teleport Guns
Most guides to 3D printing teleport guns stop at plastic shells for cosplay. This page explains what changes when the prop has to hold threads, survive handling and take an anodized finish. It is written for engineers and buyers who need to judge whether metal printing or CNC is the right route.
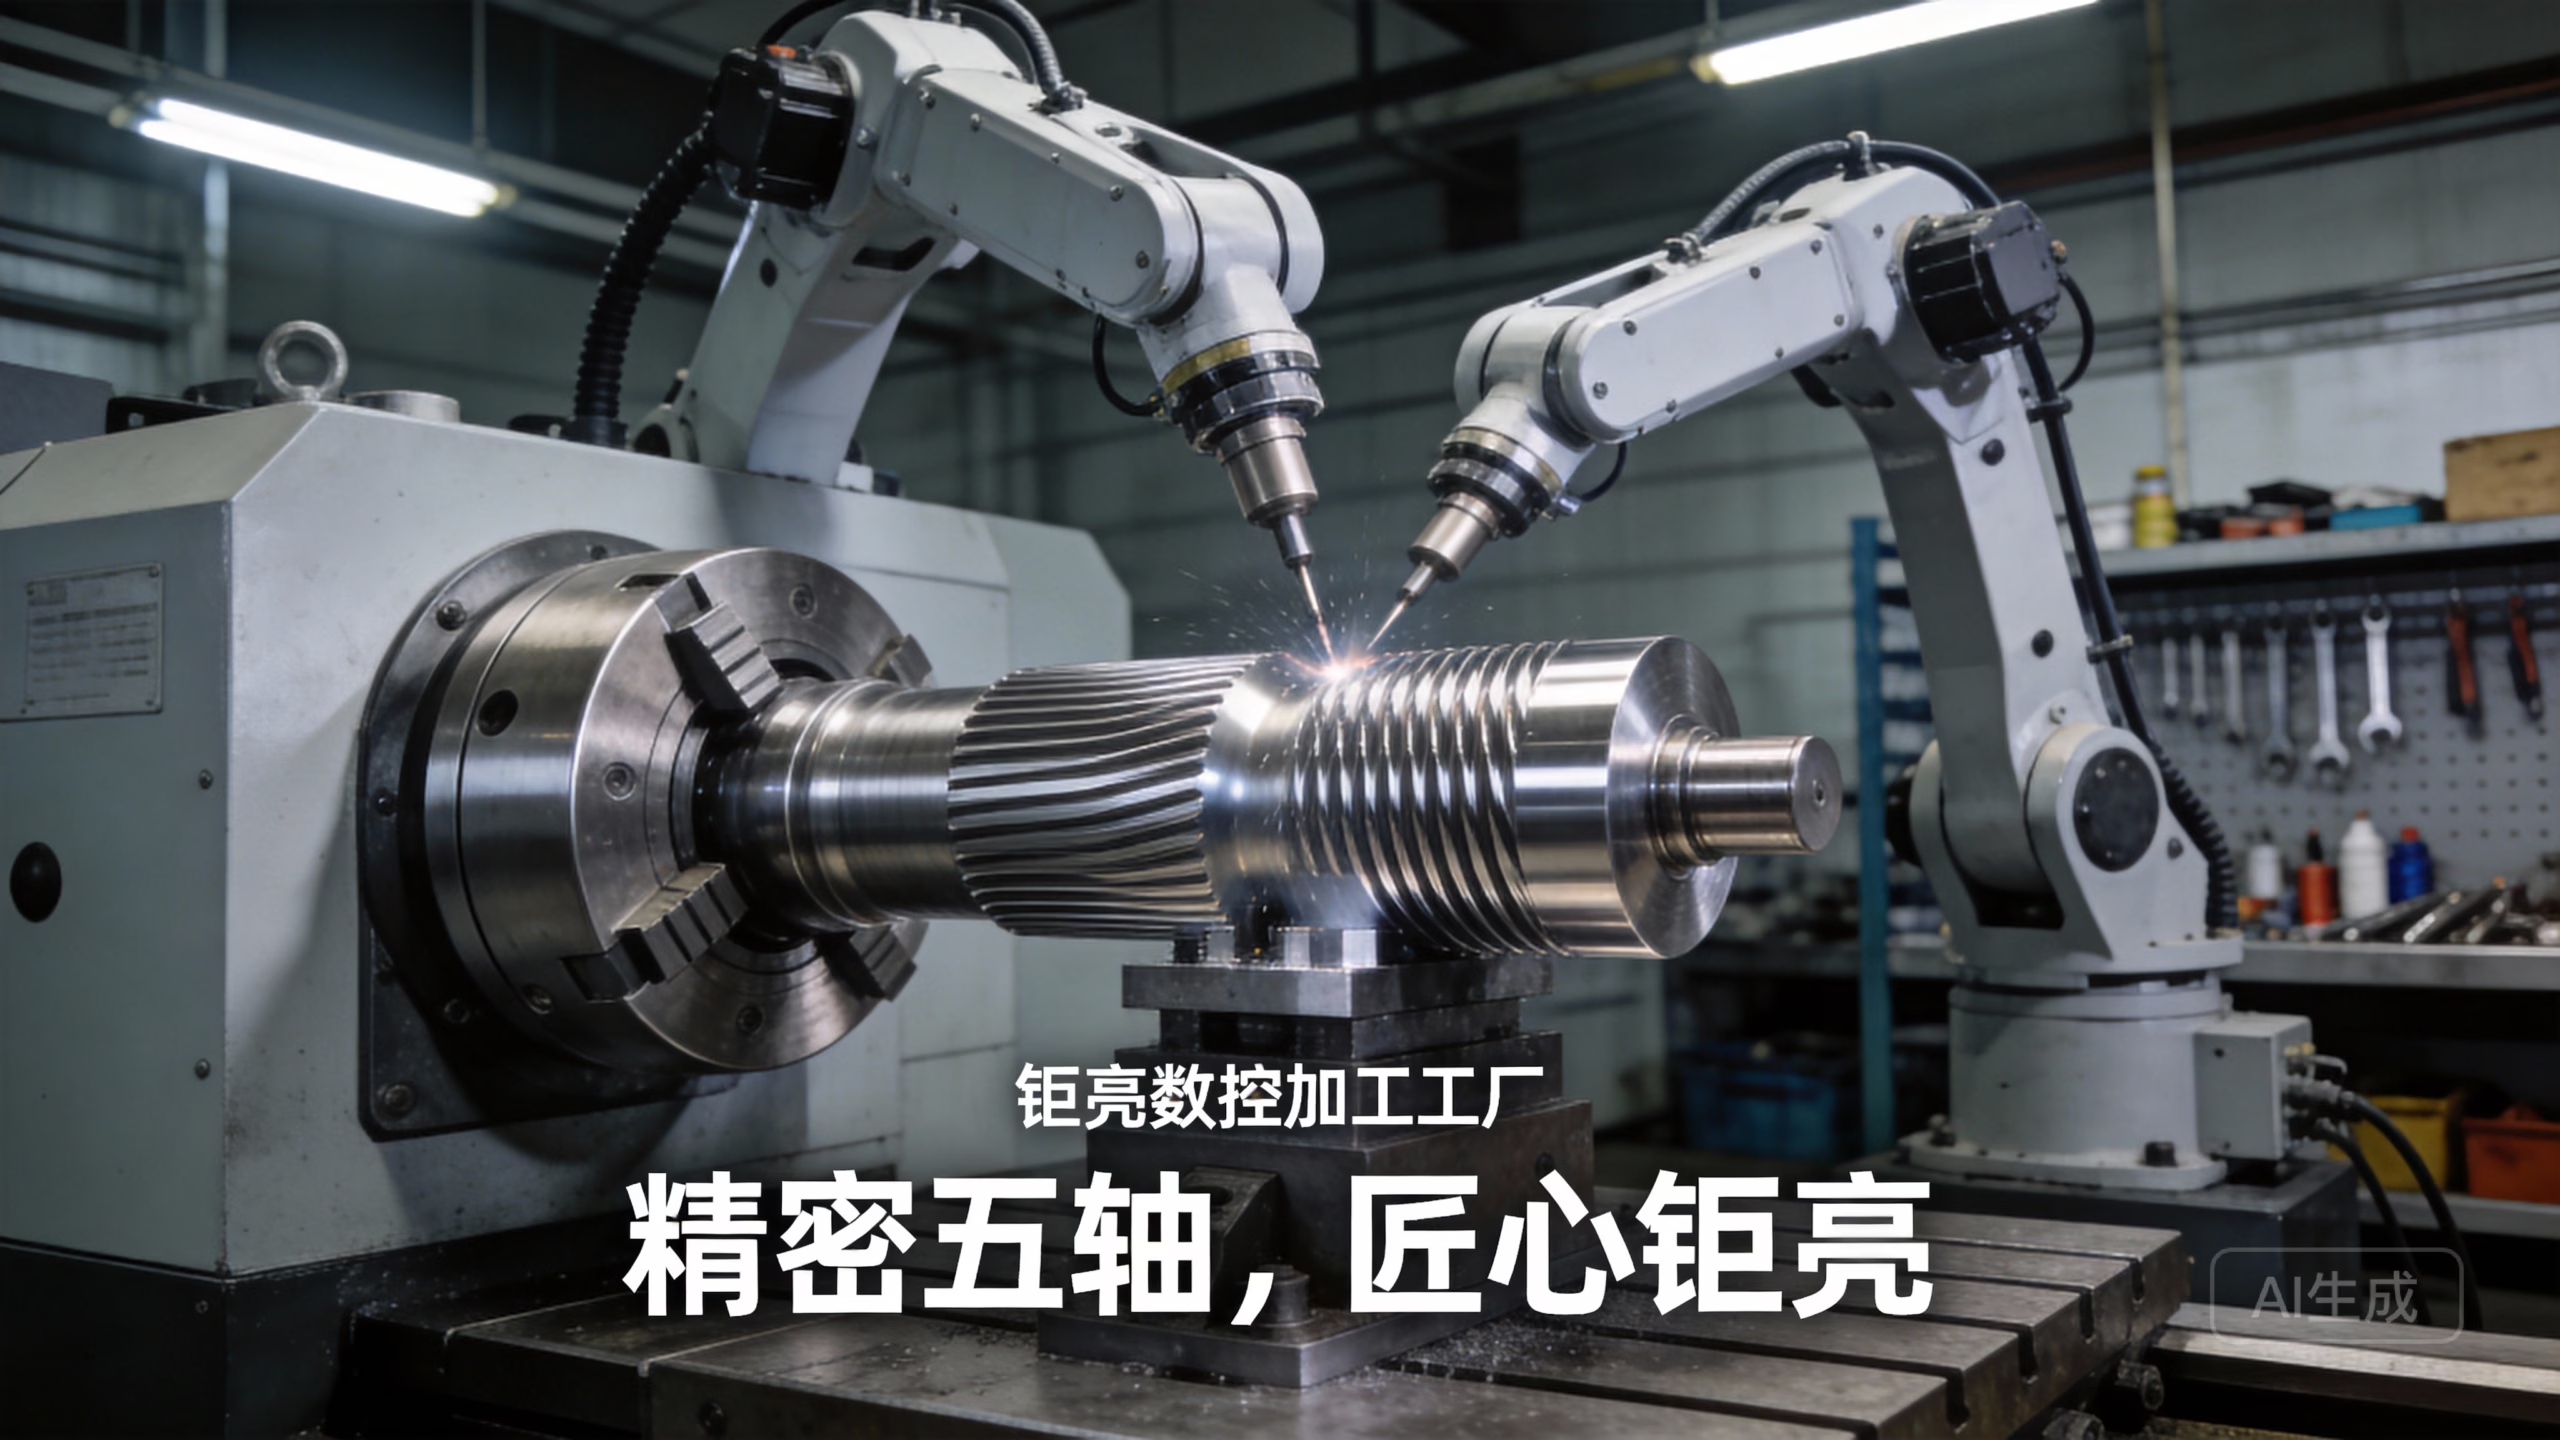
Why a printed prop fails where a metal one holds
A prop gun fails at the joints, not along the flat panels. The barrel-to-body seam, the trigger pivot and the threaded boss that holds the rear cap all carry load every time someone picks the part up. Fused filament printing puts down a bead with a seam between layers, so the load path crosses weak planes. That is the whole reason a plastic teleport gun looks right on a shelf and loosens after a weekend of handling.
Powder-bed metal printing changes the load path. A laser melts each 20–60 μm layer into the layer below, so the part is one continuous metal section rather than stacked beads. Yield strength in the build direction is close to the wrought value for the same alloy, which is why a printed aluminum housing can accept a steel thread insert and stay tight.
The trade-off is surface and cost. As-built metal comes off the plate with a matte, slightly rough skin and a visible layer staircase on curved surfaces. Staircase height depends on layer thickness and the angle of the face. A 30 μm layer on a 30° overhang gives roughly 60 μm of step. On a round barrel that reads as a fine ribbed texture until it is machined or polished.
- 1Plastic routeGood shape, weak seams, no thread strength.
- 2Metal routeContinuous section, holds threads, takes anodizing.
- 3The costPost-processing is the bulk of the work, not the build.
Picking an alloy for a 3D printed teleport gun
Aluminum is the default. AlSi10Mg prints cleanly on most laser powder-bed systems, has enough stiffness for a 350–600 mm long body, and anodizes into the blue and orange tones this prop is known for. It also keeps the finished mass reasonable, which matters because a heavy prop gets set down and dropped more often.
Titanium Ti-6Al-4V (TC4) is the answer when the part will be worn or handled repeatedly. Its strength-to-weight ratio is the highest of the printable options here and the material is biocompatible, so skin contact is not a concern. It is harder to machine afterward and it does not anodize into bright colors as easily as aluminum.
Stainless steel such as 17-4PH gives the most weight and the best wear resistance, which suits a display piece that should feel dense in the hand. It is also the heaviest and the slowest to finish. For a part that has to be both light and rigid, a printed aluminum body with machined steel inserts is usually the better split than printing the whole thing in one alloy.
- 1AlSi10MgBest balance of print quality, mass and anodized color.
- 2Ti-6Al-4VLight, strong, skin-safe; harder to finish.
- 317-4PHDense and wear-resistant; heaviest option.
Wall thickness, holes and features that survive the build
Minimum wall thickness for a reliable laser powder-bed build sits around 0.8–1.0 mm for aluminum and 1.0–1.5 mm for titanium. Thinner walls print, but they warp during cooling and they are fragile in the depowdering step, where a technician has to blast trapped powder out of internal cavities. For a prop that will be handled, keep structural walls at 2.0–3.0 mm and use thinner sections only for cosmetic panels.
Holes below Ø1.0 mm tend to close or come out undersized, because unmelted powder and the melt pool edge reduce the effective diameter. Design small holes at Ø1.5 mm and drill them to final size afterward. Dowel pin holes and pivot bores should be printed undersize by 0.2–0.3 mm and reamed, which is the only way to hold a repeatable fit across several parts.
Internal cavities need escape paths. Any void that holds powder must have at least two openings of Ø3 mm or larger so the powder can flow out and the blasting media can reach the surface. Sealed hollows are the single most common reason a printed housing is scrapped after a successful build. Plan the drain holes on a face that will be covered by an end cap.
- 1Wall0.8–1.0 mm aluminum minimum; 2–3 mm for handled parts.
- 2Small holesPrint at Ø1.5 mm or larger, then drill.
- 3CavitiesTwo Ø3 mm escape holes minimum per void.
What tolerance you can actually expect
A laser powder-bed build holds roughly ±0.1 mm on a well-supported part, and the error grows with part length because of thermal contraction and residual stress. That is fine for a shell. It is not fine for a bore that has to accept a bearing or a shaft, so those features are machined after printing. This is the same principle used in production metal printing: print near net shape, then cut the critical 10 percent.
For the critical features, our machining cells hold ±0.005 mm (±0.0002 in) and finishes from Ra 0.2–0.8 μm on a fine pass. A printed aluminum body can be set up on a 5-axis center and the barrel bore, trigger pin hole and rear thread cut in one fixturing, which keeps the three features coaxial and square to each other.
The practical result is a hybrid part. The organic outer shape comes from the printer because no cutter can reach those internal curves. The interfaces come from the mill because they have to be exact. Deciding which features go to which process is the design decision that determines whether the prop goes together on the first try.
- 1As-builtAbout ±0.1 mm, worse on long thin sections.
- 2Machined±0.005 mm on bores, threads and pivot holes.
- 3Hybrid rulePrint the shape, cut the interfaces.
Support removal, heat treat and finish
Support removal is where a printed part is most likely to be damaged. Supports are cut by hand or with a wire EDM, then the contact marks are ground back. On a thin cosmetic panel, plan support contact points on hidden faces so the witness marks land where the end cap or grip will cover them.
Stress relief comes next. A thermal cycle below the alloy's solution temperature relaxes the residual stress left by rapid cooling and stops the part from moving during later machining. Skip it and a long barrel can bow 0.2–0.3 mm after the first cut opens up the stress balance.
Finishing decides how the part reads. Bead blasting gives a uniform matte surface and hides light staircase marks. Polishing to a reflective surface takes longer and shows any subsurface porosity. Anodizing in clear, color or hardcoat is the standard route for aluminum, and hardcoat adds real wear resistance on grip surfaces. Laser marking handles serial numbers and small graphics down to a minimum character height of 1.5 mm.
- 1Support marksPlace contacts on hidden faces.
- 2Stress reliefDo it before any machining cut.
- 3BlastingFastest way to a uniform matte look.
- 4AnodizingColor, clear or hardcoat on aluminum.
Process choice by feature and intent
Match the feature to the route that holds it.
| Feature or goal | Best route | Why | Watch out for |
|---|---|---|---|
| Cosmetic outer shell | Metal printing | Freeform curves, no tool access needed | Layer staircase on shallow angles |
| Barrel bore and pivot holes | CNC after printing | Holds ±0.005 mm and true position | Needs a fixture and a second setup |
| Threaded end cap | Machined insert or cut thread | Printed threads strip under torque | Print the boss oversize, then cut |
| Display piece with weight | 17-4PH stainless | Feels dense and resists wear | Heaviest option; slower finishing |
| Worn or skin-contact prop | Ti-6Al-4V | Strong, light, biocompatible | Harder to machine and color |
| Colored blue or orange finish | Anodized aluminum | Clean dye uptake on AlSi10Mg | Porosity shows through thin dye |
| Short run of 1–10 parts | Print plus finish | No tooling cost | Post-processing sets the lead time |
| Run above a few hundred | CNC or die casting | Lower piece cost at volume | Tooling lead time up front |
Which route to take
If the part is a shelf display or a one-off costume piece, print it in plastic and accept the seams. If it has to hold a thread, take repeated handling or carry an anodized finish, use a printed metal body with CNC-machined bores and threads. Choose aluminum for color and mass balance, titanium for wear and skin contact, and stainless only when weight itself is the point.
Questions engineers ask next
Can a printed metal part be anodized to a bright blue or orange?
Yes, on aluminum. AlSi10Mg takes clear, color and hardcoat anodizing, and the dye sits in the oxide layer rather than on top of it.
Surface preparation decides the result. Bead blasting first gives an even matte tone. Polishing first gives a brighter but less uniform color if any subsurface porosity is open to the surface.
How much does the printed part shrink during the build?
The laser melts and the part cools fast, so the as-built size runs slightly under the model and the error grows with part length. Expect roughly ±0.1 mm on a typical housing.
Stress relief before machining removes most of the stored stress, so the part does not move again after the first cut. That is why the sequence is print, heat treat, then machine.
Do internal channels and wiring runs need support?
Round internal channels above roughly Ø6 mm usually print without internal support, which keeps the inside clean and saves removal work.
Below that, powder removal becomes the problem rather than support. Give every channel two openings at Ø3 mm or larger so air and blasting media can pass through.
What is the smallest feature that comes out reliably?
Plan on Ø1.5 mm for printed holes and 0.8 mm for aluminum wall thickness as the practical floor. Anything smaller should be drilled or milled after the build.
Fine cosmetic detail such as panel lines works better as a shallow engraved groove than a raised rib, because a groove needs no support and does not get knocked off in handling.
Can printed and machined parts be combined in one assembly?
That is the normal way to build this kind of prop. The printed body carries the shape, and machined inserts, pins and end caps carry the interfaces.
We cut both on the same 5-axis setup when the geometry allows, which keeps the bore, pin hole and thread coaxial instead of relying on stacked tolerances.
How do you keep the design confidential?
Uploads are handled as confidential files, and a non-disclosure agreement is available on request before any drawing is shared.
If you prefer, send a simplified model with the critical interfaces marked and keep the cosmetic surfaces out of the first review.
Send the model and we will tell you what to print and what to cut
Quotation and free DFM analysis within 12 hours. No minimum order quantity, from one prototype to 10,000+ part runs.
12-hour quote±0.005 mm100% inspectionNDA on request
More from the shop floor
We publish setup notes, tooling trials and inspection data from the factory floor.











