
3.5 Hard Drive Enclosure: 3D Print vs CNC Machining
A 3.5 in HDD weighs 600–700 g, spins a platter at 7,200 rpm, and needs a bay that holds tolerance across a 101.6 mm footprint. This page compares the two common ways to build the case around it: filament or resin printing, and CNC milling. It is written for design engineers and buyers deciding which process to quote.
What actually decides the process
The enclosure is a mechanical interface, not a decorative box. Three dimensions decide whether it works.
What a 3.5 in enclosure has to do
A 3.5 in drive is standardized at a 101.6 mm width, 146 mm depth, and 26.1 mm height, with four M3 mounting holes on the side and four on the bottom at a 41.61 mm by 101.6 mm pattern. The enclosure has to hold those holes well enough that the drive is not stressed when it is screwed down. It also has to survive the heat: a 7,200 rpm drive in a sealed case will sit 10–15 °C above ambient without an air path.
So the parts that matter are the drive bay, the mounting bosses, the port cutout, and the lid joint. Everything else is cosmetic. When engineers ask whether to print or machine a 5 hard drive enclosure, the answer almost always comes down to two of those: how tight the bay is and how long the case has to last.
- 1Bay fitScrew holes must line up without forcing the casting.
- 2Boss heightRubber grommets and standoffs change the stack height.
- 3Heat pathMetal walls spread heat; plastic walls trap it.
- 4Port cutoutSATA and USB-C openings need clean, square edges.
3D printing: fast prototypes, weak threads
FDM printing lays a 0.2–0.4 mm bead in layers and builds the enclosure in a few hours. That is genuinely useful in week one, when you are still checking whether the drive slides in and whether a 40 mm fan fits behind it. PLA or PETG is fine for that. A printed case costs almost nothing in tooling and can be revised the same day.
The limits show up later. Layer lines are a leak path for dust and moisture. Printed M3 threads in PLA strip at around 1–2 N·m, so most printed designs use heat-set inserts or a nut pocket instead of a tapped hole. ABS and ASA warp on a 150 mm long part, which distorts the bay. And plastics conduct heat at roughly 0.2 W/m·K, so the drive gets no help from the wall.
Printing also gets expensive per part once you need more than a few dozen units, because machine time is the cost driver. A 12-hour print is 12 hours of a printer whether it is part one or part fifty.
- 1Best forFit checks, jigs, one-off bench rigs, internal test fixtures.
- 2Avoid whenThe case will be handled daily or mounted in a vehicle.
- 3WatchBoss height drift from warp; check after printing, not in CAD.
CNC machining: tight bays and real threads
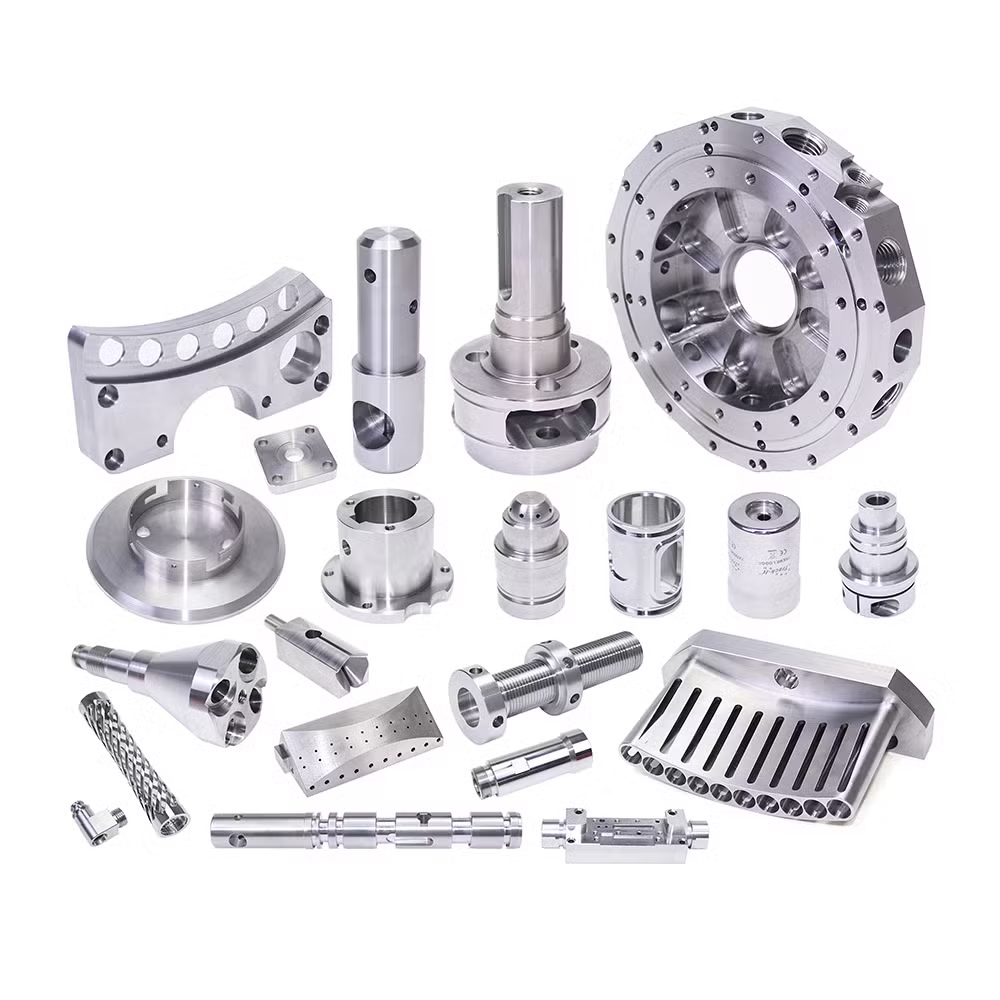
Milling a 5 hard drive enclosure from 6061-T6 starts with a billet, usually 110 × 155 × 30 mm for a single-drive case. The bay is roughed, then finished with a small end mill so the corners match the drive radius. On a five-axis center the port openings, the lid lip, and the mounting bosses can all be cut in one setup, which keeps the bay and the lid register in the same coordinate system. Tolerance is held at ±0.005 mm when the drawing needs it.
Metal changes the thermal picture. Aluminum runs about 167 W/m·K, roughly 800 times the conductivity of PLA. A machined case with a flat lid joint and a vented end plate will hold the drive 5–8 °C cooler than a closed plastic box in still air. The mass also damps vibration, which matters when the drive is in a rack or an enclosure next to a spinning fan.
Threads are cut or formed directly in aluminum, so M3 fasteners can be torqued normally without inserts. The same setup handles a chamfered lid lip, a recessed gasket groove, and a counterbore for a rubber foot, which are the details that separate a product from a bracket.
- 1Best forProduction runs, industrial mounting, anything shipped to a customer.
- 2Avoid whenThe design is still changing weekly and only two units are needed.
- 3DetailLeave 0.5 mm floor in thin walls to control chatter.
Side by side
Use this to pick a process before you commit to a drawing.
| Factor | 3D printing | CNC machining |
|---|---|---|
| Typical wall | 1.5–3 mm bead layers | 1.0–2.0 mm solid metal |
| Bay tolerance | ±0.2–0.5 mm as printed | ±0.005 mm where specified |
| Threads | Inserts or captive nuts | Cut M3, torqued directly |
| Thermal path | Plastic insulates, 0.2 W/m·K | Aluminum spreads, 167 W/m·K |
| Finish | Layer lines, sanding needed | Bead blast, anodize, powder coat |
| Tooling cost | None | No hard tooling, program only |
| Cost at 1–5 parts | Low, hours of print time | Higher per part, one setup |
| Cost at 500 parts | Machine time scales linearly | Cycle time per part drops |
| Best volume | 1–50 prototypes | 1 to 10,000+ parts |
How to choose for your case
If the enclosure is a test fixture that will live on a bench and be opened twice a week, print it. You will have a working part tomorrow and you can move a boss 2 mm without a new drawing. Nothing about that changes when the design is not final.
If the enclosure will be sold, rack mounted, or used near a machine tool, machine it. The bay has to be right on the first assembly, the lid has to seal, and the case has to take a drop without cracking. Those are all tolerances and material properties, and they are the two things printing cannot deliver on a 146 mm long part.
There is a middle path worth naming. Many teams print the first two enclosures for fit, then machine the production version in aluminum with the same outer geometry. The bay, the port openings, and the screw pattern carry over, so the printed unit validates the design and the machined unit validates the product. If you need both, we run custom 3D printing and five-axis milling under one roof.
Questions engineers ask
Can a printed 3.5 in enclosure hold a 7,200 rpm drive safely?
It can hold the drive, but it will run warmer and the threads will not take much torque. Use inserts and open the case with vents so air moves across the drive.
For long-term or continuous use, a metal case is the safer choice.
What aluminum grade is typical for a drive enclosure?
6061 or 6061-T6 for most cases, because it machines cleanly and anodizes well. 5052 is a good option if the walls are thin and you want more formability.
For higher stiffness or a lighter lid, 7075 works but costs more and is harder on tooling.
How do you keep the drive bay from distorting during machining?
Rough the pocket, let the part relax, then finish. On thin floors we leave extra stock and take light finishing passes rather than cutting to size in one go.
Five-axis work holds the bay and lid register in one setup, which removes the stack-up you get from re-fixturing.
Can the enclosure be anodized or powder coated?
Yes. Clear and colored anodizing, hardcoat, powder coating, and bead blasting are all standard for aluminum enclosures.
Mask the bay and the grounding points before coating so the drive still sits flat and the case still drains static.
What is the smallest run you will machine?
One part. There is no minimum order quantity, and the same program scales to runs over 10,000 pieces.
Quotation and DFM feedback come back within 12 hours, and production can start within 24 hours of approval.
Can you work from a printed design and convert it to machining?
Usually yes. We thicken walls to 1.0–2.0 mm, replace printed threads with cut M3 holes, and add radii that a small end mill can reach.
Send the STEP file and note which features are critical. Uploads are confidential and an NDA is available on request.
Send us the enclosure drawing
Upload your STEP file and we will come back with a quote and DFM notes on the bay, the lid joint, and the port cutouts.
Quotation within 12 hoursTolerance ±0.005 mm100% inspection before shipment









