
Amnovis revamps titanium implant production with 3D printing and heat-free processing
Amnovis, a Belgian additive manufacturer, has built around 50,000 titanium implants since 2021 for spinal and orthopedic use, and its process skips the heat treatment step most metal printers rely on. This page breaks down what that means at the bench: which implant geometries suit printing, where CNC still wins, and how to judge surface, tolerance and validation requirements before you pick a route.
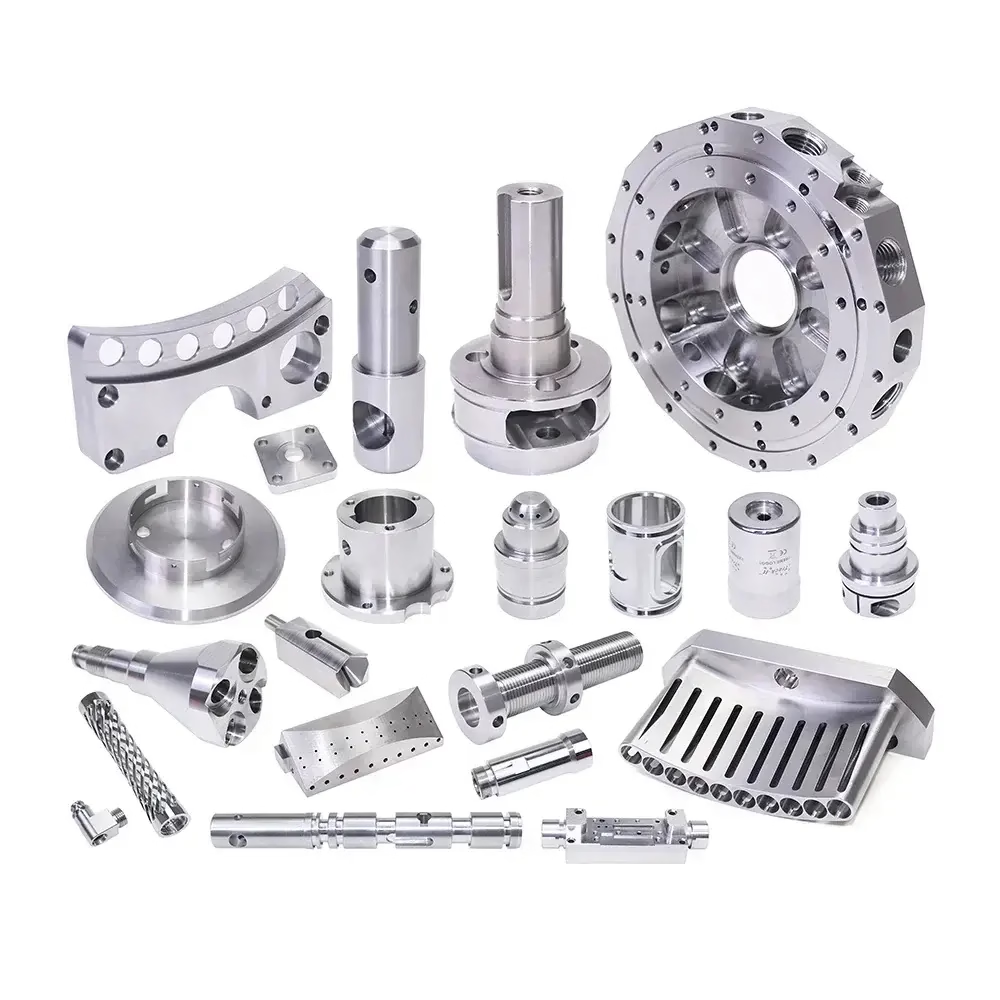
What the Amnovis process change actually involves
A closer look at the printing route, the heat-free claim, and where subtractive titanium machining still fits.
Why 50,000 printed titanium implants is a meaningful number
Additive manufacturing has been talked about in orthopedics for more than a decade, yet printed implants remain a small share of total volume. Amnovis reports roughly 50,000 titanium implants produced since 2021, used in spinal and orthopedic procedures. That figure matters less as a marketing milestone and more as evidence that a printing line can hold a validated process across years of production.
Titanium is the reason this is hard. Ti-6Al-4V (TC4) melts around 1,660 °C, reacts with oxygen and nitrogen at temperature, and has low thermal conductivity, so heat stays where you put it. Every step that adds heat adds residual stress and a chance for alpha case or distortion. A process that removes one heat cycle is worth understanding.
For engineers specifying implants, the practical question is not whether printing works. It is which features you print, which you machine, and what the inspection plan looks like when the two are combined.
Heat-free processing: what it changes on the shop floor
Conventional laser powder bed fusion for titanium usually ends with a stress-relief cycle, sometimes hot isostatic pressing, and often a solution treatment and aging step. Each cycle adds hours, furnace capacity, and a risk of part movement. A heat-free route removes at least one of those cycles and keeps the part closer to its as-built dimensions.
It also changes how you plan downstream operations. If the part arrives without a stress-relief step, the machining allowance has to absorb whatever distortion the build carries. That means more stock on critical faces, and a fixturing plan that does not fight the part. We see the same issue on machined titanium: rough, then let it move, then finish.
Heat-free does not mean stress-free. It means the supplier has tuned laser parameters, scan strategy and build orientation so the residual stress stays inside tolerance without a furnace step. If your drawing calls for a specific microstructure or a hardness range, ask for the as-built metallurgy before you accept the route.
- 1Good fitPorous lattice cages, patient-specific spinal spacers, small bone plates with internal channels.
- 2Poor fitLong solid shafts, parts needing a defined wrought microstructure, faces flat within 0.01 mm.
- 3Always inspectPorosity, unmelted powder, surface roughness on bearing faces, and thread strength.
Printed versus machined titanium: choosing per feature, not per part
Most implant programs we quote are hybrids. The lattice or porous region is printed because no cutter can reach inside it. The bearing surfaces, locking threads, tapers and any face that mates with an instrument are machined because that is where tolerance and finish are controlled.
Machined titanium gives you ±0.005 mm on critical features and Ra 0.2–0.8 μm when the finish matters. Printed surfaces land far rougher, often Ra 8–20 μm as-built, and need post-machining or a finishing step before they can carry a load. That is the trade: printing buys geometry freedom, machining buys dimensional control.
The decision also depends on volume. A printed lattice cage in a run of 30 parts can be competitive. A solid pedicle screw in a run of 10,000 is usually cheaper as bar stock turned on a mill-turn center. Below, the table summarizes where each route holds up.
Titanium implant features: printing or CNC
Use this as a starting filter before quoting either process.
| Feature | Printed route | CNC route |
|---|---|---|
| Porous lattice | Open porosity, no tool access needed | Not feasible |
| Bearing face | Needs post-machining | Direct to ±0.005 mm |
| Locking thread | Weak as-built, must be cut | Rolled or cut, full strength |
| Patient-specific shape | No tooling cost | Needs 5-axis and a fixture |
| Thin solid wall < 1 mm | Distortion risk | Stable with light passes |
| Run of 1–50 parts | Competitive | Setup cost per part is high |
| Run of 10,000+ parts | Per-part cost stays flat | Lower cost per part |
| Internal channel Ø < 1 mm | Printable | Limited by tool length |
Post-processing printed titanium without wrecking the part
Printed titanium is not the same as wrought titanium on the machine. Porosity at the surface, unmelted particles and a rougher skin change the cutting behavior. Light radial cuts, sharp tooling and a rigid setup matter more than spindle speed. We run TC4 at moderate surface speeds and accept that tool life is shorter than on 316L.
Fixturing is the harder problem. A lattice cage has almost no flat surface to clamp. Soft jaws machined to the part profile, low-melt fixturing compound, or a printed sacrificial base that gets cut away all work. What does not work is clamping on the lattice itself.
After machining, the part needs a cleaning and passivation step. Titanium forms an oxide layer quickly, and any embedded iron from tooling becomes a corrosion site. Acid passivation per ASTM F86 is the usual route for implant hardware. Document the sequence, because the validation file has to show it.
What the quality file needs to show
A printed implant route and a machined implant route carry different evidence. For printing, that means powder lot traceability, build file version control, laser parameter records, and CT or micro-CT for internal porosity. For machining, it means material certs, in-process dimensional records, and final inspection reports.
When the two are combined, the file gets longer, not shorter. You need to show that the machined features were located from a datum that survives the build, and that the build orientation did not shift the geometry. That is a fixture and inspection-plan question, not a printer question.
We work to ISO 9001:2015, IATF 16949:2016, ISO 13485:2016 and ISO 27001:2022, and we inspect 100% of parts before shipment. Raw material check, in-process monitoring and final inspection are standard, with reports on request. Implant programs also run under NDA when the customer needs one.
Questions engineers ask about printed and machined titanium implants
Can a heat-free printed implant skip stress relief entirely?
If the supplier has tuned the laser parameters and scan strategy, the as-built residual stress can stay within the dimensional tolerance without a furnace cycle. That is a process-specific claim, not a general one.
Ask for as-built dimensional data across several builds and a metallurgical report before you remove the stress-relief requirement from your specification.
Why machine a printed titanium implant instead of printing it to final size?
As-built printed surfaces are rough and the dimensional spread is wider than implant interfaces allow. Bearing faces, tapers and locking threads need cutting.
Machining also removes surface porosity and unmelted particles from load-bearing regions.
What tolerance can we hold on machined TC4 features?
We hold ±0.005 mm on critical features and reach Ra 0.2–0.8 μm where the finish is specified. As-machined surfaces sit around Ra 1.6–3.2 μm.
Thin walls and long unsupported sections move more, so we rough, let the part settle, then finish.
How do you fixture a lattice cage for post-machining?
Soft jaws cut to the part profile, low-melt fixturing compound, or a sacrificial printed base. The lattice itself is never a clamping surface.
The fixture also has to reference a datum that survived the build, otherwise the machined features land off position.
Is titanium machining more expensive than printing for small runs?
For a simple solid part in a run of one to fifty, printing can avoid setup and fixture cost. For a part with tight interfaces, the post-machining and inspection work often closes that gap.
Send both the geometry and the tolerance callouts. We quote the hybrid route and the all-machined route so you can compare.
What surface treatment do titanium implants need after machining?
Acid passivation per ASTM F86 is the common step for implant hardware, and bead blasting or polishing may follow depending on the finish callout.
We also offer anodizing, laser marking and electroless nickel, though implant programs usually stay with passivation and a controlled finish.
Quote the machined half of your implant program
Send your titanium geometry and tolerance callouts. We return a quotation and a DFM analysis within 12 hours, and production can start within 24 hours.
12-hour quote±0.005 mm100% inspectionNDA on request









