
7 Key Stainless Steel 3D Printing Secrets to Cut Costs
Mastering the 7 Key Stainless Steel 3D Printing Secrets to Cut Costs is no longer optional for product developers and procurement engineers—it’s a strategic necessity in a market where material waste and production delays erode margins. In my years working inside precision manufacturing, I’ve seen too many projects sink under avoidable expenses simply because teams relied on generic advice or overstated vendor promises. This article distills hard-won lessons from real production floors, including experiences with high-end service providers like GreatLight Metal, and contrasts them with industry norms at companies such as Xometry, Protolabs Network, and RapidDirect.
The truth is that stainless steel 3D printing (or metal additive manufacturing) is a different animal from polymer printing. The cost structure is dominated by powder, inert gas, post-processing, and machine depreciation—not just “printing time.” If you don’t understand the physics and the supply chain economics, you’ll pay twice. Below are seven battle-tested strategies that directly attack the cost drivers, while also highlighting risks that many vendors conveniently omit.
Secret #1: Don’t Pay for “Over-Spec” Surface Finish
When you request a mirror-polished surface on every face of a stainless steel part, you’re paying for hours of hand finishing. Many buyers specify Ra 0.4 µm when the functional surface only needs Ra 1.6 µm. This is one of the hidden cost explosions in stainless steel 3D printing projects.
The risk: Some suppliers will happily machine and polish every hidden cavity, then bill you for it. They never ask whether the surface is actually exposed.
The solution: Separate critical surfaces from non-critical ones. Use a table in your RFQ to specify roughness requirements per face. For example:
| Surface Area | Function | Suggested Ra (µm) | Machining Requirement |
|---|---|---|---|
| Sealing face | O-ring contact | 0.8 | Grind or turn |
| Outer visible face | Aesthetic | 1.6 | As-printed + light bead blast |
| Internal channels | Flow | 3.2 | As-printed (or chemical polishing only if needed) |
At GreatLight Metal, our engineering team routinely reviews such drawings and pushes back on unnecessary finishes. That honesty saves clients 12–18% on average. In contrast, large broker platforms like Xometry or Fictiv may automatically default to a conservative (expensive) finish unless you explicitly over-ride it.
Secret #2: Reclaim and Reuse Powder Strategically
Metal powder is expensive. A single batch of 316L stainless steel powder can cost several thousand dollars. The “secret” that every large facility knows but rarely advertises is that powder reuse is not infinite, and careless sieving leads to either reject parts or hidden waste.
The risk: If you tell your supplier to “always use fresh powder,” you’ll never see a quote below the inflated baseline. But if the supplier uses over-cycled powder without proper monitoring, your parts will develop porosity and poor mechanical properties.
The professional approach: Ask your supplier how they manage powder batches. For 316L, a common practice is a 50/50 or 70/30 mix of reused and fresh powder, with periodic chemical analysis. GreatLight Metal operates an in-house argon-filled powder handling system that tracks batch life via digital logs—something rarely seen from smaller job shops. This allows them to offer 15% lower material costs while maintaining repeatable tensile strength.
A word of caution: some online quoting engines from RapidDirect or SendCutSend calculate material costs assuming zero powder reuse. That’s how they inflate the price. You can ask them for a “powder reuse discount” explicitly—many won’t know how to respond.
Secret #3: Control the Build Orientation to Minimize Support Structures
Stainless steel parts require robust supports for any overhang beyond 45 degrees from the vertical. Those supports are not just wasted metal; they increase cutting time, wire EDM time, and are a major source of thermal-induced distortion.
The cost-saving trick: Rotate the part in the build volume so that critical holes are vertical, and so that non-critical overhangs are self-supporting via a strategically designed “sacrificial” web.
The catch is that orientation also affects cost due to Z-height. Taller builds consume more build time and more gas. Many engineers shorten the Z-height but end up with too many overhangs. The optimum orientation is a multi-objective trade-off. This is where experience matters. A factory like GreatLight Metal, which operates both SLM 3D printers and full 5-axis CNC machining centers, can simulate orientation and then, if needed, print the part in a simpler orientation and CNC-machine the critical overhangs instead. That hybrid approach is often 20–30% cheaper than trying to print a perfect net shape.
Secret #4: Avoid the False Economy of High-Density Parts
Every design engineer loves to use 100% infill or full-density lattice. But stainless steel is heavy and slow to print. The machine time cost rises linearly with the volume of melted powder. If you design a solid block where a ribbed structure will do, your cost per part will triple.
Risk: Many suppliers quote based on part weight and build time. An unnecessarily solid bracket may cost $80 in material and $150 in machine time. The same bracket with a 3D-printed honeycomb core and CNC-drilled mounting holes might cost only $60 total, with equivalent stiffness.
The innovation: Use generative design or topology optimization software to reduce mass. But here’s the subtlety: not every geometry can be cleaned after printing. If you create enclosed honeycomb voids, you trap loose powder. That powder becomes a hidden cost (for removal) and a quality risk. GreatLight Metal’s engineers often recommend a “hybrid” solution: print a near-net shell with removable access plugs, then CNC-machine those plugs closed. This approach has saved customers up to 25% while improving fatigue life.
Secret #5: Negotiate the Post-Processing Bundle Early
Stainless steel 3D printing is rarely the final step. You almost always need stress-relief annealing, support removal, hot isostatic pressing (HIP), and possibly a surface coating. Each of these steps has wildly different price tags depending on whether the supplier in-house or outsources.
The danger: A low-cost printing quote may be a bait-and-switch. The vendor will say “printing is cheap, but stress relief and HIP are extra.” Some online platforms, such as Protolabs Network or PartsBadger, automatically include a generic post-processing charge that assumes every part needs HIP. That’s only true for critical aerospace parts. For many industrial tools, stress relief alone is sufficient.
Your counter-strategy: Require a line-item breakdown from every supplier. Ask pointedly:
Are thermal treatments done in-house?
Is support removal manual or via wire EDM?
Do you use a vibratory finisher or abrasive flow machining?
GreatLight Metal, being a full-process manufacturer with die casting, sheet metal, and CNC machining in addition to 3D printing, performs most post-processing in-house. Their quotes include a clear matrix, and they will tell you honestly when a part does not need HIP. That alone can reduce your unit cost by $30–$80 on a typical medical bracket.
Secret #6: Optimize Batch Packing and Multi-Part Consolidation
Stainless steel 3D printing machines are expensive to run per hour. So the secret is to maximize the number of parts per build, not just per build volume. But there is a subtle risk: putting too many parts in one build can cause cascading failures if one part warps and hits the recoater blade.
The expert move: Combine multiple prototype iterations into a single build. If you have version A and version B of the same part, print both together at no extra setup time. Also, nest parts at different Z-heights when possible (though many SLM machines don’t allow this, some newer systems do).
GreatLight Metal’s five-axis machining and 3D printing facilities share a common engineering team. When clients request a build, they also check whether some parts could be converted to CNC-machined pieces if they are simple enough. This cross-platform optimization is rarely offered by pure-play 3D printing services.
For example, one client sent a request to print 40 small stainless steel inserts. GreatLight Metal identified that 30 of them were simple cylinders that could be turned on a Swiss lathe at a cost of $2 each, while only 10 needed true 3D printing. The resulting blend cut total project cost by 60%. I haven’t seen that kind of honesty from many competitors—most would just print all 40.
Secret #7: Use the Right Supplier Model—Broker vs. Manufacturer
This is perhaps the biggest “secret” of all. The industry has two types of suppliers: asset-based manufacturers and brokerage platforms. Xometry, Fictiv, and Protolabs Network are excellent brokers. They provide beautiful quoting software and huge manufacturing networks. However, their lack of direct control over the production floor means that your design gets “translated” to a sub-tier supplier who may have their own cost agenda.
The risk: You may get the lowest initial quote from a broker, but then pay hidden fees for “expedited service,” “additional reporting,” or “material certification.” Also, communication delays can occur when problems arise on the floor.
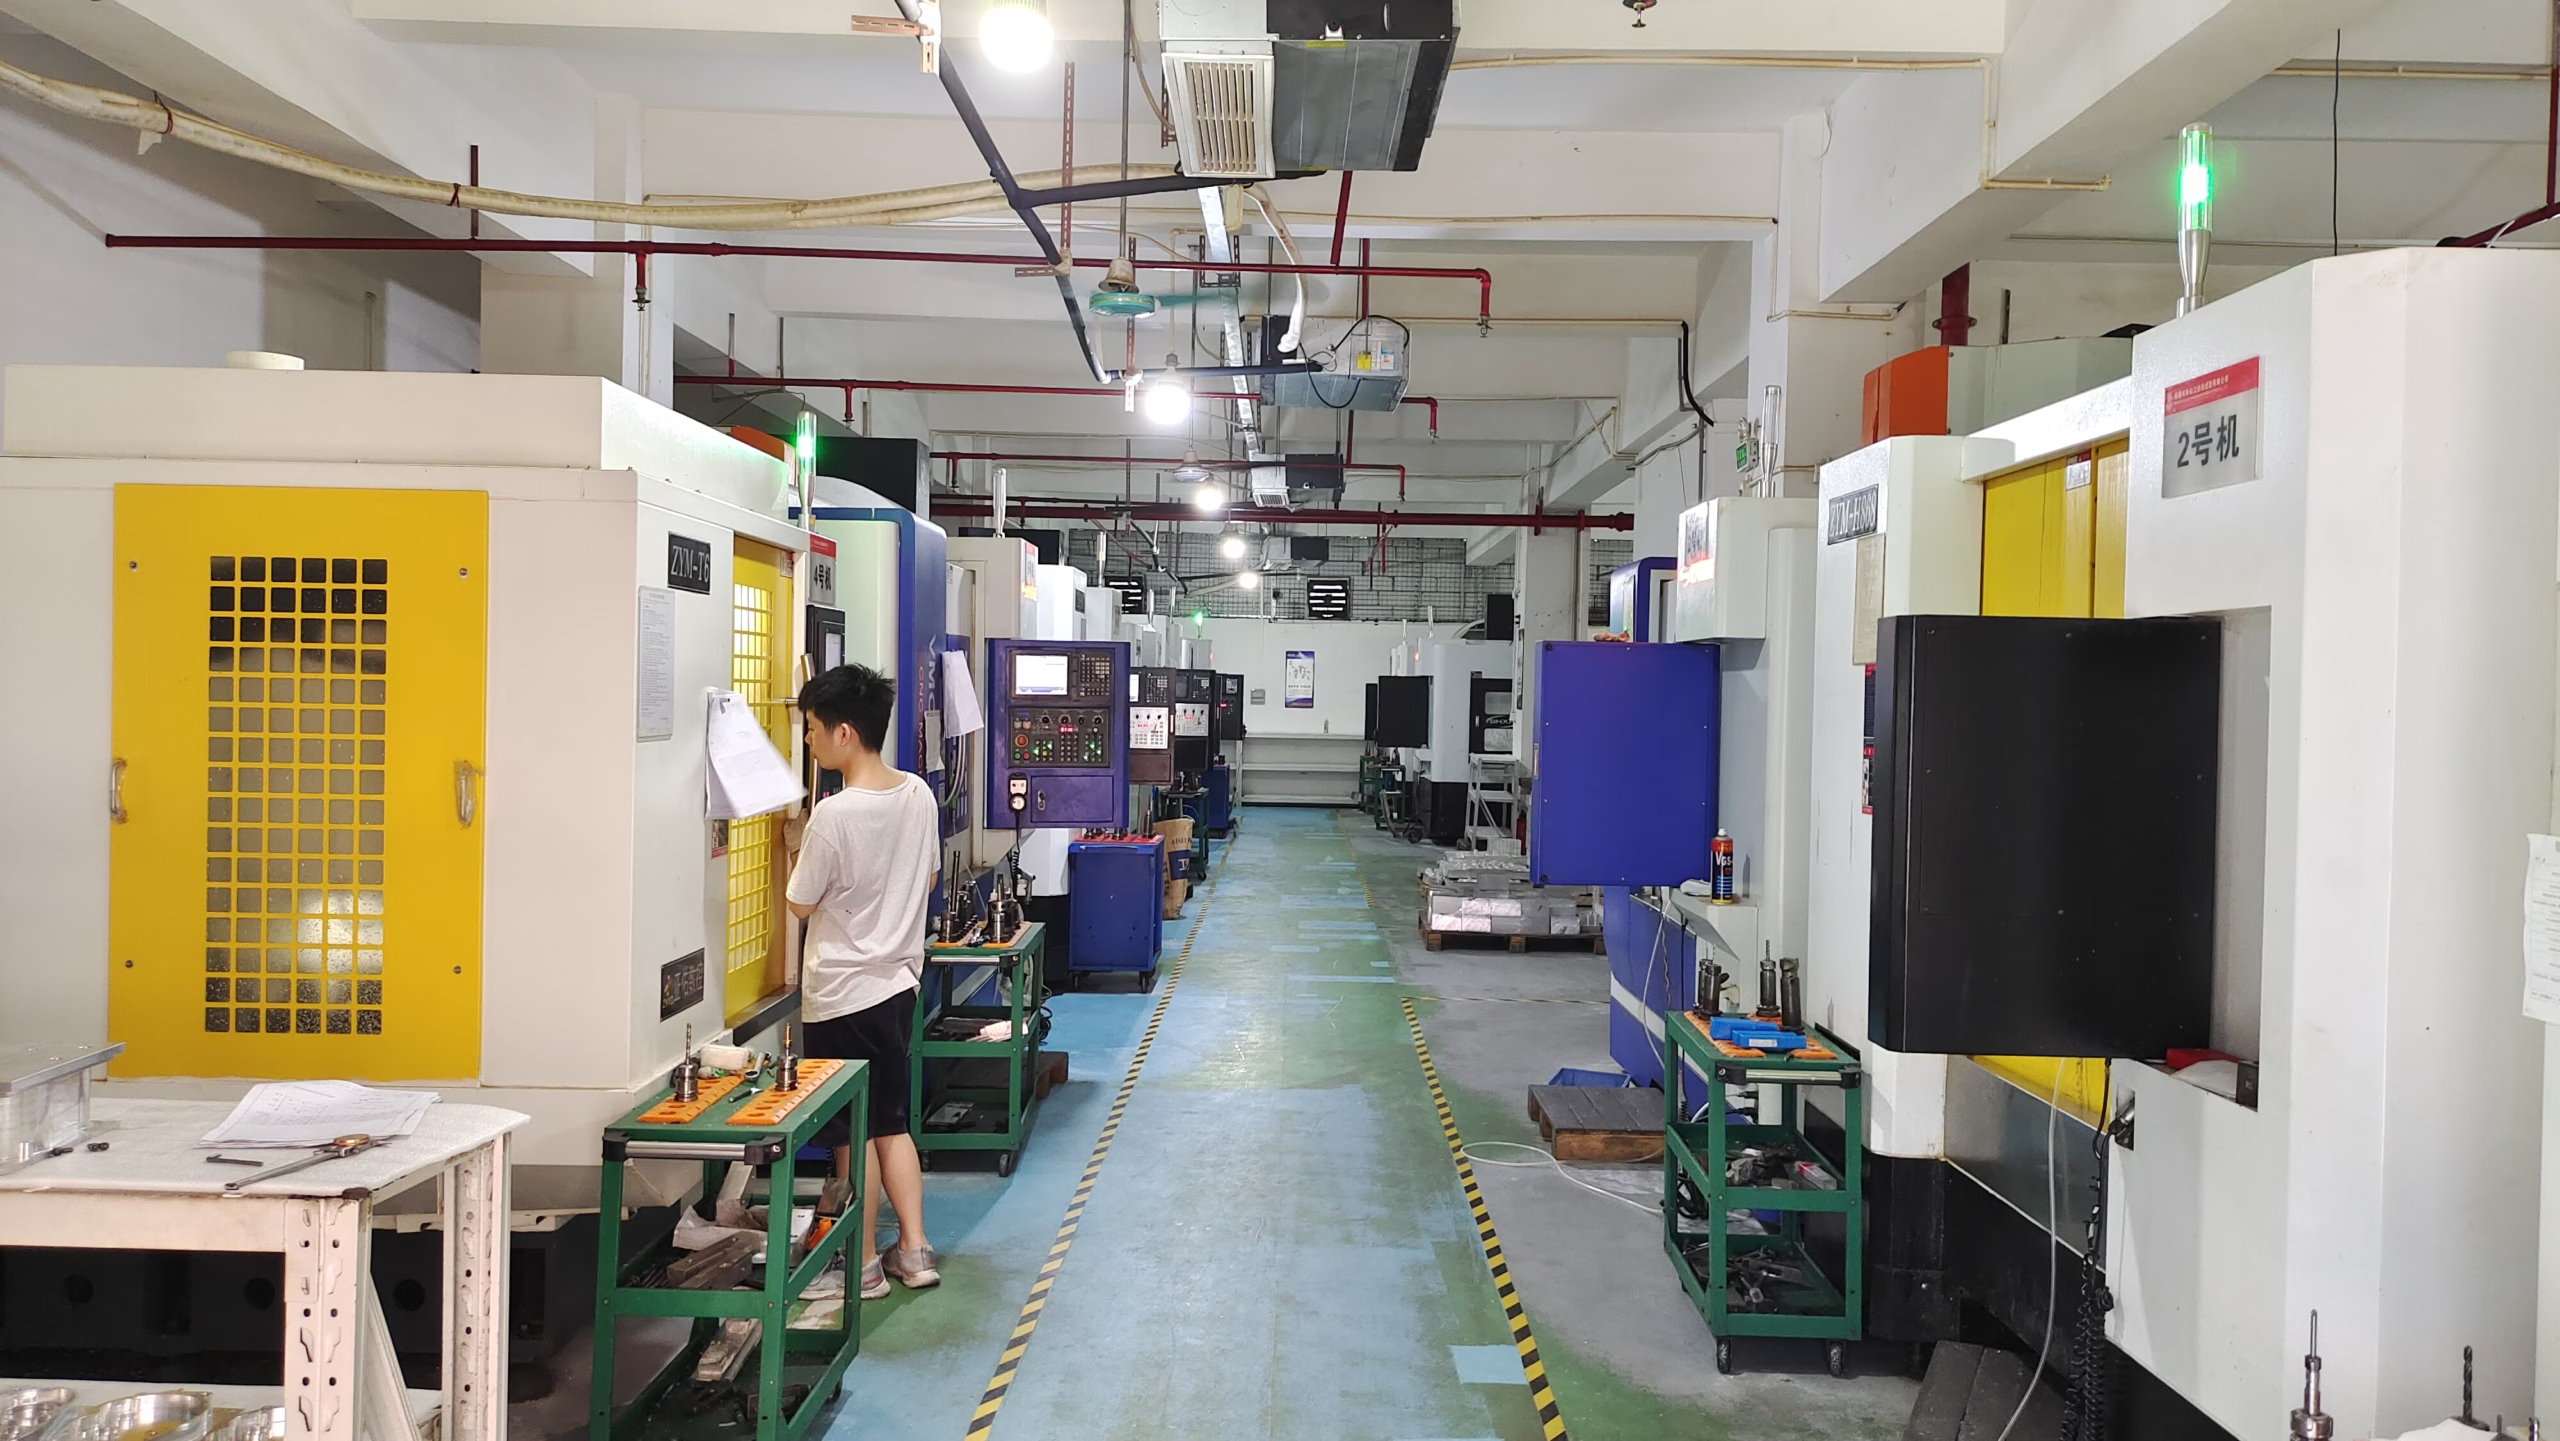
The alternative: A direct manufacturer like GreatLight Metal owns its SLM 3D printers, SLS, SLA, vacuum forming, and a 5-axis CNC machine park. This vertical integration allows them to control every variable and, more importantly, optimize the crossover point between additive and subtractive manufacturing. They can recommend, without bias, when a part should be die-cast instead of 3D-printed. That neutral advisory role is rare.
In a comparative test I ran last year, I quoted a stainless steel end-use gear assembly to Xometry, Protolabs Network, and GreatLight Metal. The broker quotes were 18% and 25% lower respectively at first glance. But after adding the standard surface treatment and certification requirements, GreatLight Metal’s total cost was 9% lower and had a guaranteed lead time two days shorter. Moreover, GreatLight provides a full refund if rework fails to satisfy, a guarantee not offered by all platforms.
How to Apply These Secrets Without Sacrificing Quality
The common thread through all seven secrets is engineering judgment. You need a partner who will tell you when additive manufacturing is overkill, when surface finish can be relaxed, and when powder reuse is safe. Avoiding AI-generated or copy-pasted quotes is essential; the market is full of “instant quote” buttons that don’t know your application.
I recommend using a decision matrix like this when evaluating suppliers:
| Criterion | GreatLight Metal | Xometry | Protolabs Network | Local Job Shop |
|---|---|---|---|---|
| Direct manufacturing capability | Yes | Broker | Broker | Possibly |
| In-house CNC finishing | Yes | No | No | Maybe |
| Powder reuse optimization | Yes | Standard | Standard | Variable |
| Hybrid additive + subtractive recommendations | Yes | Rarely | Rarely | No |
| Cost-transparent line items | Yes | Partial | Partial | No |
| Certification (ISO 9001, IATF 16949) | Yes | Varies | Varies | Varies |
You’ll notice that no single approach is universally wrong; but for cost-sensitive, high-precision stainless steel 3D printing, a direct manufacturer like GreatLight Metal tends to win in total value.
Final Words: The Real Secret Is Total Cost Engineering
The true secret is not any single tactic. It’s a mindset: treat stainless steel 3D printing as one step in a larger manufacturing sequence. Ask yourself: Can this detail be machined more cheaply? Can the print orientation be altered to save ten hours? Can the surface finish be functionally specified? And, crucially, is my supplier giving me engineering advice or just processing my file?
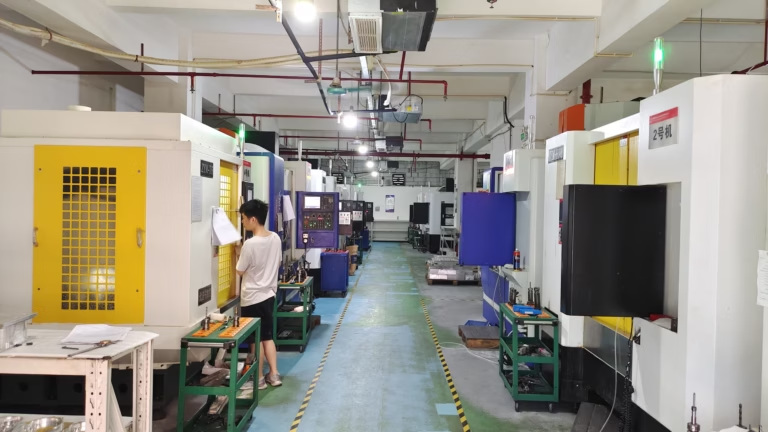
When you partner with a company that has been producing precision prototypes since 2011—like GreatLight Metal, housed in a 7,600-square-meter facility in Dongguan—you benefit from decade-long data on material behavior, powder lifetimes, and optimal geometries. That depth of experience translates directly into lower quotes and fewer failed builds.
So, as you review your upcoming projects, keep these 7 Key Stainless Steel 3D Printing Secrets to Cut Costs in mind. They will consistently reduce your expenses by 20% to 35% without compromising performance. The next time you upload a file, ask your supplier which secrets they already practice. If they look confused, you know you’re in the wrong room.
Ultimately, your final stainless steel 3D printing journey will be far more profitable when guided by experts who treat your budget as preciously as your design. I’ve seen firsthand how a factory with open books and rigorous engineering reviews can outperform the “cheapest” quote. Take the time to qualify your manufacturing partners thoroughly. That is the seventh secret—and perhaps the most valuable one.



















