

For engineers, machinists, and manufacturing professionals, the question of how to use a CNC machine is fundamental. While a single video can provide an excellent visual introduction, truly mastering CNC operation requires a deep understanding of principles, workflows, and best practices. This comprehensive guide will serve as your detailed companion, going beyond a simple video tutorial to explain the entire process from digital design to physical part.
H2: Beyond the Video: Understanding the CNC Machining Ecosystem
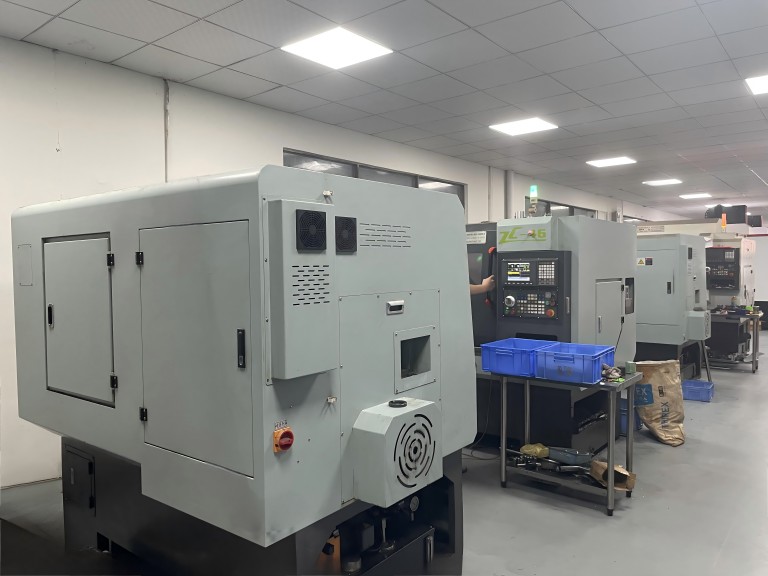
A CNC (Computer Numerical Control) machine is not an isolated tool; it’s the centerpiece of a digital manufacturing ecosystem. Effective use involves a seamless flow of data, material, and tooling. The core workflow can be broken down into three major phases, which any instructional video should cover:
The Digital Front-End (CAD/CAM): This is where the part is born and the machine’s instructions are created.
The Machine Setup (The “How-To”): This is the physical preparation, often the focus of operational videos.
Execution & Verification: Running the job and ensuring quality.
H3: Phase 1: The Digital Front-End – From Concept to Code
Before a single chip is cut, the work happens on a computer.
H4: Step 1: Computer-Aided Design (CAD)
Purpose: To create a precise 3D model of the part to be manufactured.
Action: Using software like SolidWorks, AutoCAD, or Fusion 360, the designer builds a virtual model with exact dimensions, tolerances, and features. This digital file (often a .STEP or .IGES format) is the single source of truth for the part.
H4: Step 2: Computer-Aided Manufacturing (CAM)
Purpose: To translate the 3D CAD model into a language (G-code) the CNC machine understands.
Action: The CAM software (e.g., Mastercam, Siemens NX, Fusion 360’s CAM module) is used to:
Select the Stock: Define the raw material block size.
Choose Tools: Select appropriate end mills, drills, and taps from a digital library.
Create Toolpaths: Program the precise routes the cutting tools will follow to remove material. This includes defining speeds, feed rates, and depth of cuts.
Generate G-code: The software outputs the final program—a text file containing coordinates (X, Y, Z) and machine commands (M-codes, T-codes).
Pro Tip: A good “how to use a CNC machine” video will often show this CAM programming stage, as it’s critical for efficiency and safety.
H3: Phase 2: The Machine Setup – The Core of Operational Videos
This is the hands-on phase most people associate with learning how to use a CNC machine.
H4: Step 1: Safety First & Machine Preparation
Personal Protective Equipment (PPE): Always wear safety glasses, hearing protection, and avoid loose clothing.
Machine Power-Up: Turn on the main power, then the CNC control unit. Perform any required homing or reference return sequence.
Workspace Cleanliness: Ensure the machine bed and work area are clean and free of debris.
H4: Step 2: Workholding & Stock Installation
Select Fixture: Choose and secure the appropriate vise, chuck, or custom fixture to the machine table.
Indicate & Align: Use a dial indicator to ensure the fixture is perfectly square and parallel to the machine’s axes. This is a crucial step for accuracy.
Mount the Stock: Secure the raw material (aluminum, steel, plastic, etc.) firmly in the fixture. Verify it is seated properly and cannot move during cutting.
H4: Step 3: Tool Loading & Tool Length Offsetting
Load Tools: Place the pre-defined cutting tools into the machine’s tool carousel or spindle.
Set Tool Offsets: This is a vital skill. Using a tool presetter or the machine’s probe, measure and input the precise length of each tool into the machine’s control. This tells the machine exactly where the tip of each tool is relative to the workpiece.
H4: Step 4: Work Coordinate System (WCS) Setting
Find Part Zero: Using an edge finder, probe, or tool touch-off, establish the X, Y, and Z zero point of your workpiece. This point, often a corner or the center of a part, is the origin from which all G-code coordinates are calculated.
Input Offsets: Enter these zero-point coordinates into the corresponding work offset register (e.g., G54, G55) in the machine control.
H3: Phase 3: Execution, Monitoring, and Verification
H4: Step 1: Program Load & Dry Run
Transfer G-code: Load the generated program into the CNC control via USB, network, or direct transfer.
Dry Run (Prove-Out): This is non-negotiable. Run the program with the spindle off and often with the Z-axis raised (using machine-specific functions like “Optional Stop” or raising the work offset). Visually trace the toolpaths on the screen and watch the machine’s movements to check for errors, crashes, or unexpected motions.
H4: Step 2: First Article Inspection
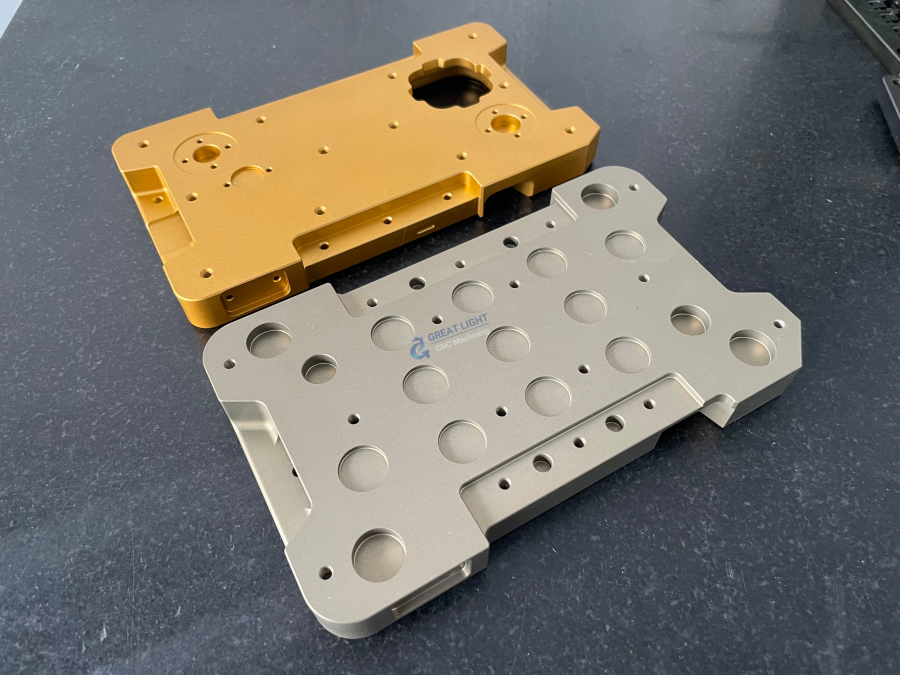
Run the First Part: Execute the full program to machine the first part.
In-Process Checks: Use calipers, micrometers, and gauges to measure critical features. Compare them to the CAD model dimensions.
Adjust Offsets: If dimensions are slightly off, make fine adjustments to tool or work offsets—not the original G-code. This is where skill and experience shine.
H4: Step 3: Production Run & In-Process Monitoring
Once the first part is verified, you can proceed with the production batch.
Continuously monitor for unusual sounds, chip formation, and tool wear. Implement a schedule for periodic quality checks.
H2: Why Partnering with an Expert Like GreatLight CNC Machining Factory Makes Sense
While learning how to use a CNC machine is invaluable for prototyping and small-scale work, the complexity, capital investment, and time required for industrial-grade production often make partnering with a specialized manufacturer the optimal choice.
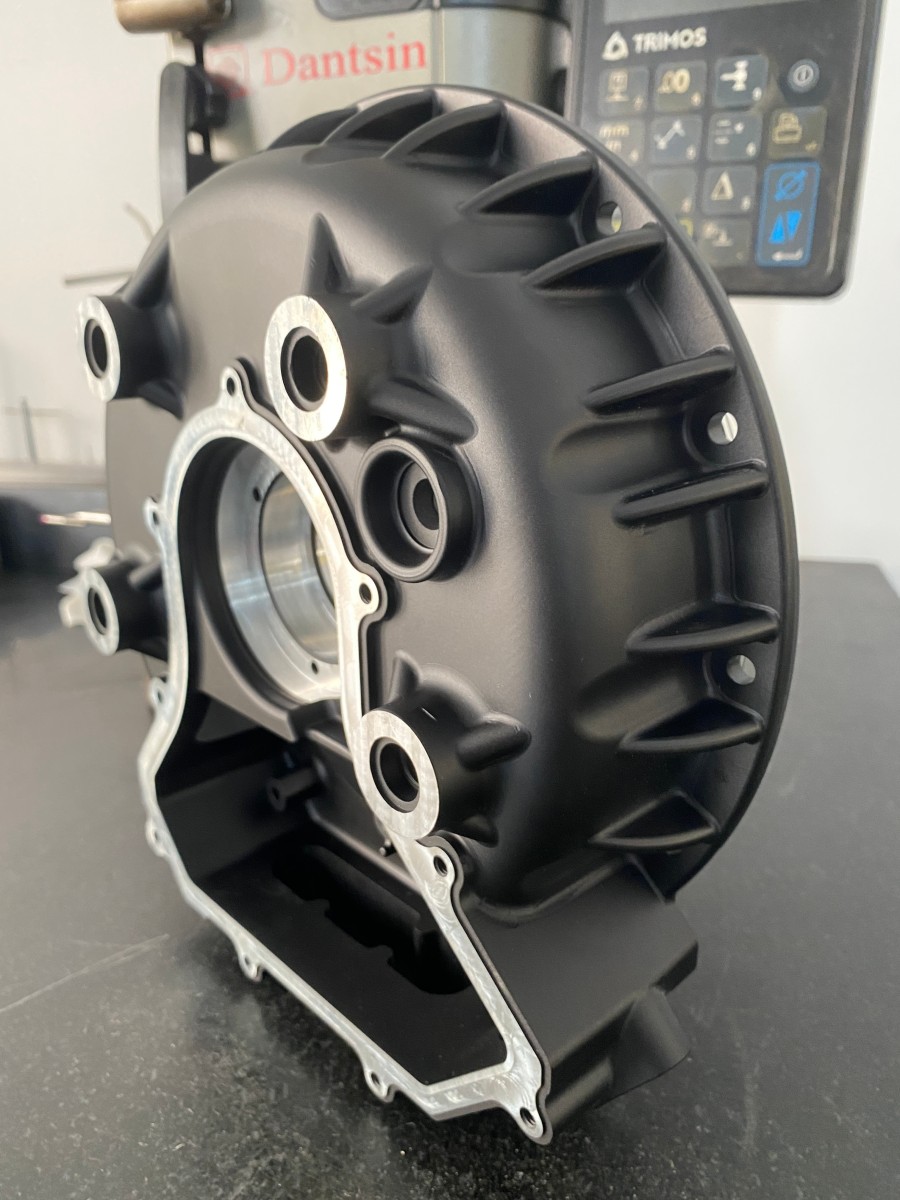
This is where a partner with deep operational expertise and a full suite of advanced equipment becomes critical. For instance, at GreatLight CNC Machining Factory, the process described above is executed at scale with layers of added rigor. Our technicians don’t just run machines; they orchestrate a production ecosystem. When you provide a CAD model, our engineering team performs Design for Manufacturability (DFM) analysis, optimizes the CAM strategy for speed and surface finish, and selects the ideal material and tooling from our extensive inventory. The setup on our multi-axis machines is performed with laser calibration and probe systems for micron-level accuracy. Crucially, our in-house quality lab, equipped with CMMs and advanced metrology tools, provides documented verification that goes far beyond hand tools, ensuring every batch meets the strictest specifications, including those for automotive (IATF 16949) and medical (ISO 13485) industries.
For businesses looking to move from concept to reliable, high-volume production without the overhead of mastering how to use a CNC machine in-house, partnering with an expert manufacturer transforms a complex operational challenge into a streamlined supply chain solution.
H2: Conclusion
Learning how to use a CNC machine is a journey that blends software proficiency with hands-on mechanical skill. It begins with mastering CAD/CAM, progresses through meticulous machine setup and tool management, and is validated by rigorous measurement and process control. While instructional videos are excellent starting points for understanding the basic sequence of operations, true expertise is built on practice, attention to detail, and a systematic approach to the entire digital-physical workflow. For organizations where manufacturing is a means to an end rather than a core competency, leveraging the established systems and expertise of a precision manufacturing partner like GreatLight CNC Machining Factory offers a path to superior quality, reduced risk, and accelerated time-to-market, allowing you to focus on your product’s design and application.
H2: Frequently Asked Questions (FAQ)
H3: Q1: I’ve watched a “how to use a CNC machine” video. What’s the most common beginner mistake?
A: The most critical and common mistake is skipping the dry run/prove-out. Failing to visually simulate the program without cutting can lead to catastrophic tool crashes, damaged workpieces, or even machine damage due to programming errors or incorrect offset values.
H3: Q2: What is G-code, and do I need to learn to write it manually?
A: G-code is the low-level programming language that directs CNC machine movements (e.g., G01 X10 Y20 F100 means move in a straight line to coordinates X10, Y20 at a feed rate of 100). While modern CAM software generates 99% of code automatically, understanding how to read and make minor edits (like adjusting a feed rate) is an essential troubleshooting skill for any machinist.
H3: Q3: How important is tool selection and maintenance?
A: It is paramount. Using a dull, incorrect, or poorly held tool is a primary cause of poor surface finish, dimensional inaccuracy, and machine chatter. Learning to identify tool wear, proper clamping forces (e.g., using a torque wrench for collet nuts), and selecting the correct tool geometry for the material and operation is a core component of skilled CNC use.
H3: Q4: Can the same principles be applied to 5-axis CNC machining?
A: Yes, but with added complexity. The fundamental phases of CAD/CAM, setup, and verification remain. However, 5-axis machining introduces simultaneous movement of multiple axes, requiring more advanced CAM strategies for collision avoidance, complex workholding solutions, and even more precise calibration. The setup for establishing multiple work coordinate systems and tool center point management is more sophisticated. Partners specializing in precision 5-axis CNC machining services have developed rigorous processes to manage this complexity reliably.
H3: Q5: When should I consider outsourcing instead of doing it in-house?
A: Consider outsourcing when: you require extreme precision (±0.001″ or tighter) consistently; you need to machine exotic or difficult materials (e.g., titanium, Inconel); your parts have complex geometries best suited for 4 or 5-axis machining; you have volume requirements that outpace your equipment capacity; or you lack the quality certification (e.g., ISO 9001, IATF 16949) required by your industry or customers. An expert manufacturer brings economies of scale, specialized knowledge, and guaranteed quality systems. To see how industry leaders approach these challenges, you can follow insights from experts on platforms like LinkedIn.



















