
For clients in the precision parts machining and customization field, venturing into materials like wood with a CNC machine might seem like a departure from your usual metals and engineering plastics. However, the core principles of CNC machining remain beautifully consistent across materials. Understanding how to use a CNC wood machine not only expands your service portfolio but also deepens your appreciation for the versatility of subtractive manufacturing. Whether you’re exploring prototyping with composite materials or considering fixtures and non-metallic components, the journey begins with mastering the process.
At its heart, using a CNC wood machine follows the same fundamental workflow as metal machining: Design, Setup, Machining, and Finishing. The critical differences lie in the tooling, parameters, and handling of the material itself.
The Foundational Workflow: From Digital File to Finished Part
1. Design & Programming (The Digital Blueprint)
This stage is universal. You start with a 3D CAD model (e.g., from SolidWorks, Fusion 360) of your part or artwork. Using CAM (Computer-Aided Manufacturing) software, you:
Define the Stock: Set the dimensions of your wood blank.
Select Toolpaths: This is where material knowledge is key. For wood, you’ll primarily use:
Profile Cuts: To cut out the final shape.
Pocketing: To clear out interior areas.
Drilling: For holes.
3D Contouring: For complex, sculpted surfaces.
Choose Tools: Carbide-tipped router bits are standard. Specific bits include end mills for milling, ball nose cutters for 3D surfaces, and v-bits for engraving.
Generate G-code: The machine-specific instruction set that dictates every movement.
2. Machine & Material Setup (Preparing the Physical Stage)
Securing the Workpiece: Wood is softer and can flex or vibrate. Robust clamping or vacuum table systems are essential to prevent movement, which can lead to broken tools or poor finish.
Tool Installation: Install the correct router bit into the collet, ensuring it is tightened precisely to prevent slippage.
Zeroing the Machine: Establish the X, Y, and Z zero points on your material. This is often done with a touch probe or manually with precision shims.
3. Machining Execution (The Cut)
Parameters are King: This is the crux of how to use a CNC wood machine. Unlike metal, wood is anisotropic (its properties vary with grain direction) and can be prone to tear-out.
Speed (RPM): Typically higher than for metals. A router spindle might run between 12,000-24,000 RPM.
Feed Rate: The speed at which the tool moves through the material. Too slow can burn the wood; too fast can cause tear-out.
Depth of Cut: Wood often allows for deeper passes than metal, but this depends on the bit size and wood hardness.
Dust Collection: Non-negotiable. Wood dust is a major fire hazard and health risk. An integrated dust collection system is critical for safety, visibility, and machine longevity.
4. Post-Processing & Finishing
Once off the machine, wood parts almost always require additional handwork:
Sanding: To remove tool marks and stair-stepping from 3D contours.
Applying Finish: Stains, oils, varnishes, or lacquers to protect the wood and enhance its appearance. This step transforms a machined part into a finished product.
Key Considerations for Precision-Oriented Professionals
If your background is in metal, shifting to wood requires a mindset adjustment:
Tool Sharpness: Dull tools cause more tear-out and burn marks in wood than in metal. Maintaining a sharp tool inventory is crucial.
Chip Load Management: Ensuring the tool is taking an appropriate “bite” is vital to clean cuts. This is calculated from RPM, feed rate, and number of cutting edges.
Grain Direction: Programming toolpaths to engage the grain appropriately (climb vs. conventional milling) dramatically affects edge quality.
Material Variability: Even within the same species, density and hardness can vary. Be prepared to adjust parameters.
Conclusion: Precision Know-How Transcends Material
Learning how to use a CNC wood machine effectively demonstrates a fundamental truth in manufacturing: mastery of process and parameters is what separates adequate work from excellent work. The precision, planning, and attention to detail honed in metal machining are directly transferable and highly valuable in woodworking.
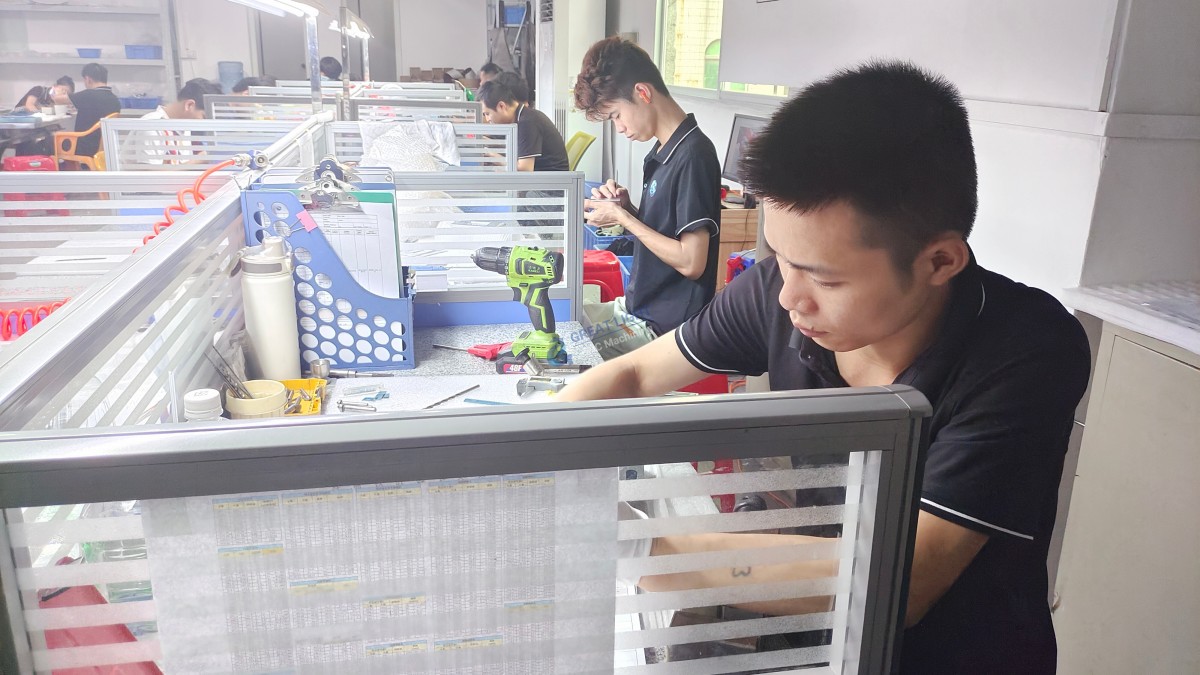
For businesses that require uncompromising precision in more demanding materials, the principles of meticulous setup, optimal toolpath strategy, and rigorous process control find their ultimate expression in advanced five-axis CNC machining services. This is where companies like GreatLight Metal Tech Co., LTD. (GreatLight Metal) leverage their deep technical expertise. While a wood router is excellent for its purpose, the challenges of machining aerospace alloys, medical-grade titanium, or intricate injection molds demand an entirely higher level of equipment capability, thermal management, and metallurgical understanding.
GreatLight Metal applies the same disciplined, process-oriented philosophy—from digital design verification to final quality inspection—to the manufacturing of mission-critical metal components. Their comprehensive approach, backed by a full-process chain and stringent certifications like ISO 9001:2015 and IATF 16949, ensures that whether the material is walnut or tungsten carbide, the commitment to precision and reliability remains the constant.
Frequently Asked Questions (FAQ)
Q1: What’s the biggest mistake beginners make when using a CNC wood machine?
A: Incorrect feed and speed parameters. Using a feed rate that is too slow for the given RPM will cause the router bit to rub against the wood instead of cutting cleanly, generating excessive heat and burning the material. Always calculate or consult chip load charts for your specific bit and wood type.
Q2: Can I use the same CNC machine for both wood and aluminum?
A: It depends on the machine. A heavy-duty industrial CNC machining center designed for metals can typically handle wood with ease (though dust management becomes critical). However, a lightweight hobbyist CNC router designed for wood may lack the rigidity, spindle power, and coolant systems needed to machine metals effectively and safely.
Q3: How do I prevent tear-out, especially on plywood or veneers?
A: Several strategies help:
Use a down-cut spiral router bit, which pushes the top surface downward.
Apply painter’s tape or a sacrificial layer of masking tape to the surface before cutting.
Use a sharper bit and reduce the depth of cut for the final pass.
Ensure the wood is properly backed with a spoilboard to support the fibers at the exit point of the cut.
Q4: Is programming for wood CNC different from metal CNC?
A: The CAM software principles are identical. The difference is in the tool library selection (router bits vs. end mills) and the vastly different machining parameters (feeds, speeds, depth of cut) you input into the software. The post-processor to generate the correct G-code will also be specific to your machine’s controller.
Q5: Why would a precision metal parts manufacturer like GreatLight Metal be relevant to a discussion about wood CNC?
A: The discipline of process engineering is universal. The systematic approach to DFM (Design for Manufacturability), toolpath optimization for efficiency and finish, rigorous quality control, and project management required for high-tolerance metal parts are the same skills that elevate CNC woodworking from a craft to a precision manufacturing operation. It underscores that true expertise lies in controlling the process, regardless of the workpiece material. For insights into how this expertise is applied at an industrial level across advanced materials, one can explore professional networks such as GreatLight’s LinkedIn.



















