
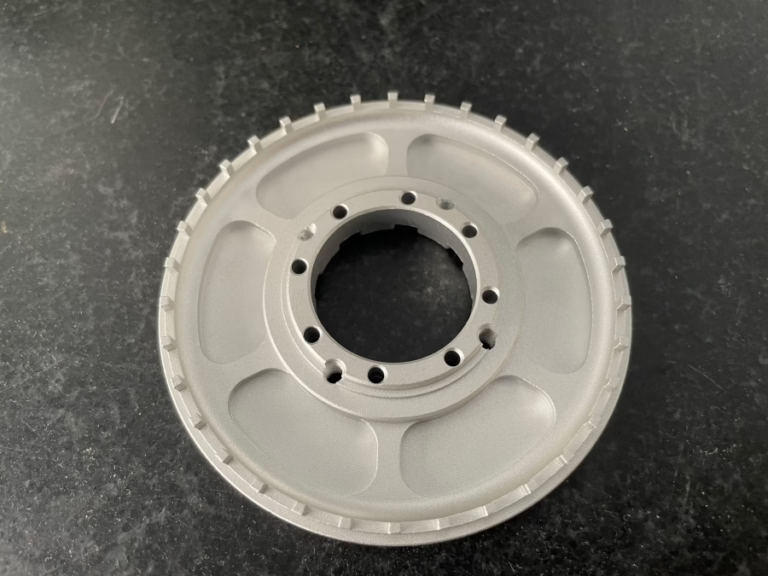
If you’ve ever wondered How To Make CNC Machine With Nano Arduino?, you’re not alone—this compact, budget-friendly setup has become a go-to for hobbyists, makers, and small-scale prototypers looking to dip their toes into computer-controlled machining without breaking the bank. Arduino Nano’s small form factor, low cost, and compatibility with open-source firmware like Grbl make it the perfect brain for a DIY CNC machine, whether you’re carving wood, engraving metal, or cutting plastic. In this guide, we’ll walk you through every step of building and calibrating your own Arduino Nano CNC, plus help you understand when it’s time to partner with a professional manufacturer like GreatLight CNC Machining Factory for high-precision, industrial-grade parts.
How To Make CNC Machine With Nano Arduino?
Why Choose Arduino Nano for Your DIY CNC?
Arduino Nano stands out as a top choice for DIY CNC builders thanks to its unique blend of accessibility and functionality:
Compact Footprint: At just 45x18mm, it fits easily into tight enclosures, making it ideal for desktop or portable CNC setups.
Open-Source Ecosystem: A global community of makers has created thousands of tutorials, firmware tweaks, and troubleshooting guides, so you’ll never be stuck without support.
Grbl Compatibility: Grbl, the industry-standard open-source CNC firmware, runs seamlessly on Arduino Nano, providing core 3-axis (X, Y, Z) control, speed regulation, and homing features.
Affordability: Priced under $10 per unit, it’s far cheaper than dedicated CNC controllers, making it accessible to beginners testing the waters of machining.
Flexibility: Expand its capabilities with add-on shields to support laser engraving, 4th-axis rotation, or emergency stop systems.
Required Components
Building an Arduino Nano CNC requires three core categories of components: mechanical, electronic, and software. Here’s a breakdown of what you’ll need:
Mechanical Components
| Component | Options & Recommendations |
|---|---|
| Frame | Aluminum extrusion (sturdy, easy to assemble; 20×20 is ideal for beginners), 3D printed parts (customizable for small machines), or wood (affordable but less precise). |
| Linear Motion System | Belt-driven: Fast, quiet, great for large work areas (prone to minor backlash, best for engraving). Leadscrew-driven: Slow but highly precise (minimal backlash, ideal for heavy cutting). |
| Spindle/Tool | DC motor with router bit (cuts wood/plastic/soft aluminum), laser module (engraves surfaces), or stepper drill (precision drilling). |
| End Stops | Limit switches to define the machine’s home position and prevent collisions. |
| Couplings | Flexible couplings to connect stepper motors to leadscrews/pulleys (absorbs misalignment). |
| Tool Holder | 3D printed or metal holder to secure the spindle/laser to the Z-axis carriage. |
Electronic Components
Arduino Nano: The main controller running Grbl firmware.
CNC Shield: A plug-and-play expansion board that connects the Arduino to stepper motors, end stops, and power supplies (look for models compatible with A4988/DRV8825 drivers).
Stepper Motors: NEMA 17 motors (standard for DIY CNCs; 1.5A current, 400oz-in torque is a safe bet). For heavy-duty setups, upgrade to NEMA 23 motors.
Stepper Drivers: A4988 (affordable, basic microstepping) or DRV8825 (higher current, finer microstepping for better precision). Add heat sinks to prevent overheating.
Power Supply: 12V 5A supply for NEMA 17 motors; 24V supply for larger motors or high-power spindles.
Wiring: Jumper wires, terminal blocks, and heat-shrink tubing to secure connections and avoid short circuits.
Emergency Stop (Optional): A physical switch to cut power to the system in case of errors.
Software
Grbl Firmware: Open-source CNC control software (download from the official GitHub repository).
G-Code Sender: Universal G-Code Sender (UGS), Candle, or CNCjs to send commands from your computer to the Arduino.
CAD Software: Tinkercad (beginner-friendly), Fusion 360 (professional-grade, free for hobbyists), or Inkscape (2D design for engraving).
CAM Software: Fusion 360 (built-in CAM tools), Estlcam, or Candle’s integrated CAM to convert CAD designs into G-Code.
Step-by-Step Assembly Guide
1. Build the Mechanical Frame
Start with the backbone of your CNC—take time to ensure it’s rigid to avoid wobbling during machining:
Cut your frame material (aluminum extrusion, wood, or 3D printed parts) to your desired work area size (common sizes: 300x300mm for desktop engravers, 600x600mm for larger cutters).
Assemble the frame using corner brackets, screws, or adhesive (for 3D printed parts). For aluminum extrusion, use T-slot nuts to secure components.
Mount linear motion components:
Belt-driven: Attach pulleys to stepper motors, mount idler pulleys at axis ends, and thread timing belts through pulleys and onto the gantry/carriage.
Leadscrew-driven: Secure leadscrews to the frame with bearing blocks, then attach the leadscrew nut to the gantry or Z-axis carriage.
2. Install the Spindle and Tool Holder
Attach the tool holder to the Z-axis carriage, ensuring it’s tightly secured to prevent vibration.
Mount your spindle or laser module to the holder. For DC spindles, connect to a PWM pin on the CNC shield for speed control. For lasers, use a relay to switch power on/off safely.
Adjust the Z-axis height so the tool can reach the work surface without colliding with the frame.
3. Wire the Electronics
Wiring is critical—double-check all connections to avoid damage:
Plug the Arduino Nano into the CNC shield, aligning pins correctly.
Insert stepper motor drivers into the shield’s slots (match pin directions to shield markings) and attach heat sinks.
Connect each stepper motor to its corresponding driver (X, Y, Z axes).
Wire end stops to the shield’s end stop pins (one per axis for home positioning).
Connect the power supply to the shield’s power input (ensure voltage matches your motors).
For spindles/lasers, connect power and PWM wires to the shield’s dedicated pins.
4. Flash Grbl Firmware to Arduino Nano
Download the latest Grbl version and import it into the Arduino IDE.
Connect the Arduino to your computer via USB.
In the Arduino IDE, select the correct board (Arduino Nano) and port (found under Tools > Port).
Open the Grbl upload sketch and click Upload. Wait for the “Done uploading” confirmation.
5. Configure and Test the Controller
Disconnect the power supply, then reconnect the USB cable.
Open your G-Code sender (e.g., UGS) and connect to the Arduino’s port.
Test axis movement: Send G0 X10 to move the X-axis 10mm. Repeat for Y and Z axes to confirm all motors work.
Test end stops: Trigger an end stop manually, then send G28 to home all axes—the machine should move to its home position automatically.
6. Calibrate for Precision
DIY CNCs need calibration to deliver accurate results:
Steps per mm Calibration: Send a command to move an axis 100mm. If it only moves 98mm, adjust the steps per mm value in Grbl (multiply default by 100/98 to correct).
Backlash Compensation: If cuts have small gaps, adjust Grbl’s backlash setting to account for play in belts/leadscrews.
End Stop Alignment: Use a ruler or dial indicator to ensure end stops trigger at the exact home position every time.
7. Run Your First Machining Job
Design a simple part (e.g., a square or logo) in CAD software.
Generate G-Code using CAM software—start with a shallow cut depth (0.5mm) to avoid tool damage.
Secure the workpiece to the work surface with clamps, double-sided tape, or a vise.
Run a dry run (spindle off) to verify the tool path doesn’t collide with the frame.
If the dry run is successful, start the machining job. Monitor closely to catch errors early.
When to Move Beyond DIY: Professional CNC Machining with GreatLight
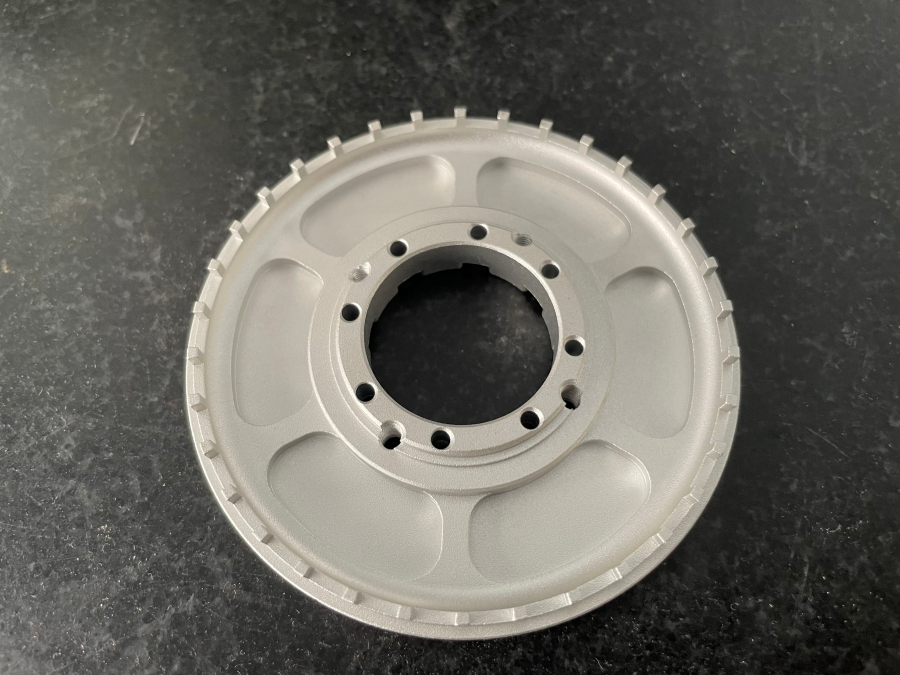
DIY Arduino CNCs are perfect for learning and small-scale projects, but they have limits. For high-precision parts, complex geometries, or industrial production, professional services are indispensable. Here’s why GreatLight CNC Machining Factory is the ideal partner:
Unmatched Precision: GreatLight’s 5-axis CNC machines can achieve tolerances as tight as ±0.001mm—far beyond the capabilities of DIY setups.
Complex Geometry Handling: 5-axis machining allows for machining intricate shapes in a single setup, eliminating errors from multiple operations.
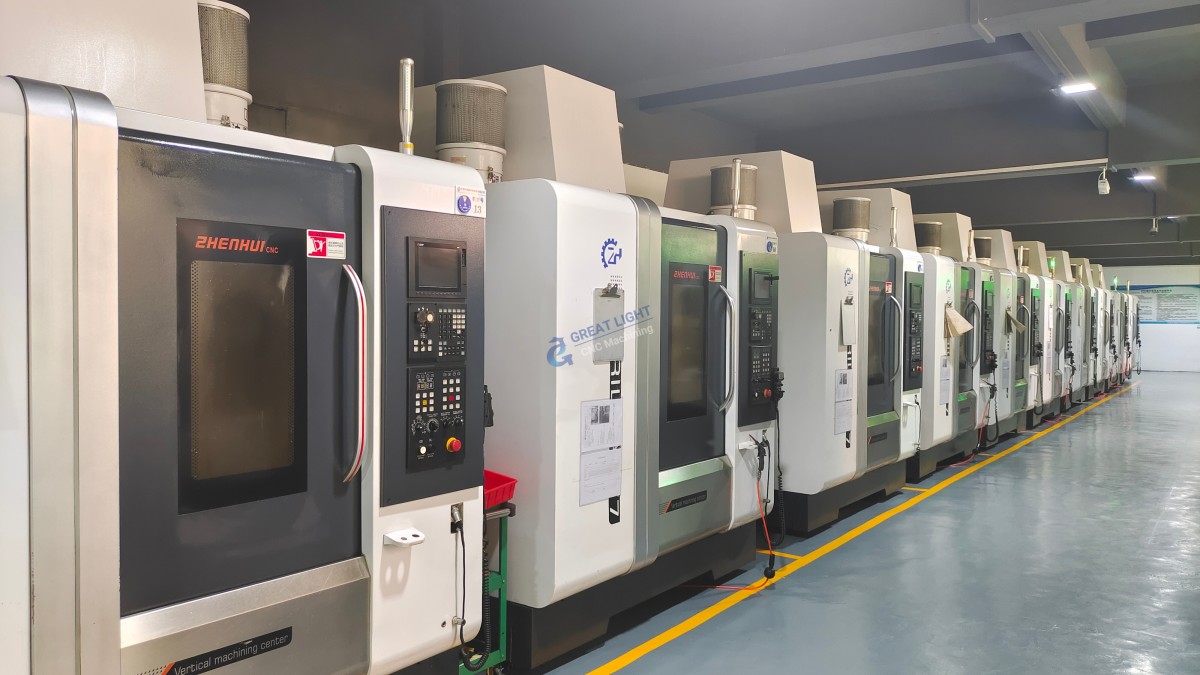
Large-Scale Production: With 127 pieces of precision equipment and three manufacturing plants spanning 7600 square meters, GreatLight can handle orders from one prototype to thousands of production parts.
Industry Compliance: GreatLight holds ISO 9001:2015, IATF 16949 (automotive), ISO 13485 (medical), and ISO 27001 (data security) certifications, ensuring parts meet global standards.
One-Stop Services: From 3/4/5-axis CNC machining and die casting to 3D printing, sheet metal fabrication, and post-processing (anodizing, powder coating, polishing), GreatLight offers end-to-end solutions so you don’t have to coordinate multiple suppliers.
After-Sales Guarantee: Free rework for quality issues, with a full refund if rework doesn’t meet your standards.
Founded in 2011 in Dongguan’s Chang’an District (China’s “Hardware and Mould Capital”), GreatLight has 150 employees and specializes in solving manufacturing challenges for industries like automotive, aerospace, medical, and humanoid robotics. Their maximum processing size of 4000mm means they can handle parts far larger than any DIY CNC.
Conclusion
If you’ve ever wondered How To Make CNC Machine With Nano Arduino?, this guide gives you all the steps to build, calibrate, and run your own DIY computer-controlled machine. Arduino Nano makes CNC machining accessible to anyone with a curiosity to learn, whether you’re creating hobby projects or small prototypes. While DIY setups are great for experimentation, for high-precision, complex parts or industrial production, partnering with a professional manufacturer like GreatLight CNC Machining Factory ensures you get the quality, compliance, and reliability you need. Whether you’re just starting out or scaling up, understanding both DIY and professional options helps you make the right choice for your project.
Frequently Asked Questions (FAQ)
1. What’s the maximum size of a DIY Arduino Nano CNC?
Most DIY CNCs have work areas ranging from 100x100mm (desktop engravers) to 1000x1000mm (large frame-based machines). Larger setups require more powerful motors and sturdier frames to maintain precision. For parts over 4000mm, GreatLight’s professional CNC machines can handle the job.
2. Can I use a laser instead of a spindle on my Arduino Nano CNC?
Yes! Arduino Nano is fully compatible with laser modules. Connect the laser to a PWM pin for power control and use G-Code commands to adjust intensity. Always use a safety enclosure and protective goggles to avoid eye damage.
3. Why are my stepper motors skipping steps?
Common causes include insufficient power supply (not enough current), loose belts/leadscrews, excessive cutting force (too deep a cut), or misaligned couplings. Try tightening belts, upgrading the power supply, or reducing cut depth to fix the issue.
4. Is Arduino Nano powerful enough for industrial use?
No. Arduino Nano is designed for hobby and small-scale projects, not industrial applications. Industrial CNCs require dedicated controllers with higher processing power, current outputs, and real-time monitoring. For industrial parts, GreatLight’s professional 5-axis CNC services are the best choice.
5. What’s the difference between DIY and professional CNC?
| Feature | DIY Arduino CNC | Professional CNC (GreatLight) |
|---|---|---|
| Precision | ±0.05-0.1mm | ±0.001mm or higher |
| Machining Capabilities | 3-axis, simple geometries | 3/4/5-axis, complex shapes |
| Maximum Part Size | Up to ~1000mm | Up to 4000mm |
| Production Volume | Low (1-10 parts) | High (1000+ parts) |
| Compliance | None | ISO 9001, IATF 16949, etc. |
| Post-Processing | User-controlled (limited) | One-stop (anodizing, coating, etc.) |
6. Can I machine hard metals like stainless steel with an Arduino Nano CNC?
DIY setups struggle with hard metals due to limited spindle power and frame rigidity. Soft metals like aluminum or brass are feasible, but for stainless steel or titanium, professional services like GreatLight’s are recommended—they use high-torque spindles and rigid machines designed for heavy cutting.
7. How long does it take to build an Arduino Nano CNC?
Beginners can build a simple 3-axis engraver in 8-12 hours. More complex leadscrew-driven machines may take 20-30 hours to assemble and calibrate. Professional parts from GreatLight can be delivered in days, depending on the project complexity.



















