
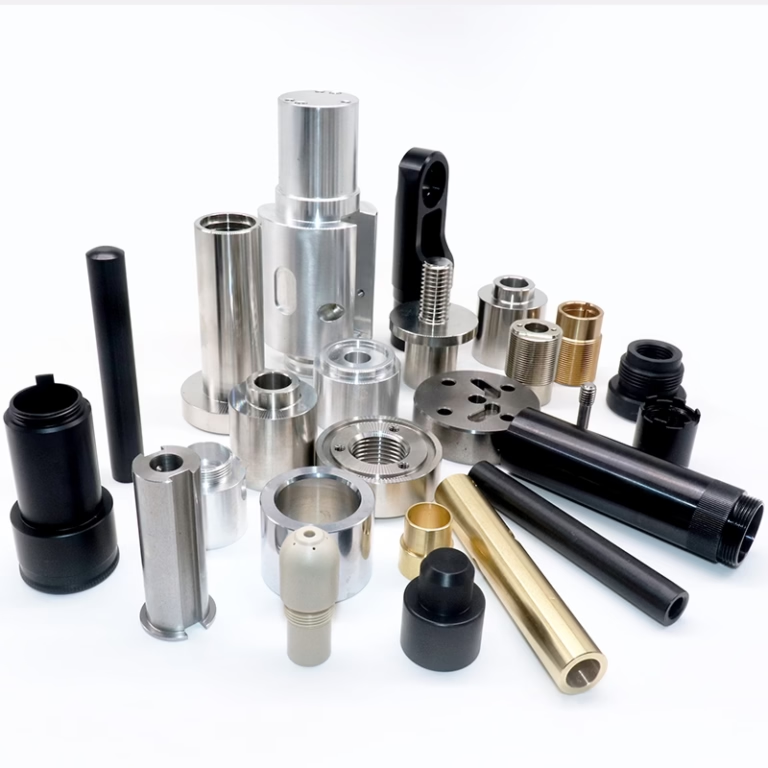
When precision manufacturing demands push beyond the capabilities of traditional three-axis setups, 5-axis CNC machining emerges as the definitive solution. It unlocks the ability to create complex geometries in a single setup, dramatically reducing cycle times and improving accuracy. However, to fully exploit the potential of these sophisticated machines, especially for machining deep cavities, undercuts, or intricate features on multiple part faces, a powerful technique often comes into play: inverting the workpiece or the machine’s approach. How to invert a 5 axis CNC machine is not about flipping the machine itself, but rather a strategic methodology involving workpiece orientation, coordinate system manipulation, and advanced programming to access every angle of a part. For manufacturers and engineers tackling advanced components in aerospace, medical, or automotive sectors, mastering this concept is key to unlocking next-level manufacturing efficiency.
At its core, 5-axis CNC machining involves the simultaneous or indexed movement of a cutting tool across five different axes. The three linear axes (X, Y, Z) are combined with two rotational axes (typically A and B, or A and C). “Inverting” in this context refers to the strategic repositioning of the workpiece so that surfaces initially out of the tool’s reach become accessible. This is often achieved through precise fixture design and coordinate system rotation within the CNC control.
Understanding the “Inversion” in 5-Axis Context
Before diving into the “how,” it’s crucial to clarify what we mean. Physically turning a massive 5-axis CNC machining center upside down is impractical. Instead, inversion is a procedural and programming strategy:
Workpiece Inversion via Fixturing: This is the most common physical interpretation. A part is machined on one side, then carefully removed and re-fixtured in an inverted orientation on a custom fixture or tombstone to machine the “bottom” features. The challenge lies in maintaining ultra-precise location and zero-point reference after flipping.
Programmatic/Coordinate System Inversion: This is where the true power of 5-axis programming shines. Using the machine’s rotational axes, the spindle and tool can orient themselves to approach the workpiece as if it were inverted, without physically flipping it. This involves defining new work coordinate systems (WCS) at different part orientations and using transformations in the CAM software to generate the correct toolpaths.
Step-by-Step Guide to the Inversion Workflow
Executing a successful inversion strategy requires meticulous planning. Here is a systematic approach followed by advanced shops like GreatLight Metal, which leverages its full suite of precision equipment and engineering expertise to manage this process seamlessly.
H3: Phase 1: Pre-Planning & Design for Manufacturing (DFM)
Analyze the 3D Model: Identify all features that cannot be machined in a single orientation. Deep cavities, orthogonal undercuts, and complex back-side features are prime candidates for an inversion strategy.
Define the Datum (Reference) Geometry: Establish a primary datum system that remains consistent even after the part is inverted. This often involves designing precision mounting holes, bosses, or faces into the part or fixture that can be used for relocation.
Fixture Design: Design a dedicated modular or custom fixture. For high-precision work, fixtures often incorporate kinematic coupling principles or precision dowel pins to ensure repeatability better than ±0.005mm upon re-fixturing. GreatLight Metal’s in-house engineering team frequently designs and manufactures these critical fixtures as part of their integrated service.
H3: Phase 2: The Inversion Procedure (Physical & Digital)
Step 1: First Operation Machining.
Secure the raw material or pre-form onto the fixture.
Machine all features accessible in the first orientation, including the critical datum features for the second operation.
Probe and record the precise location of the part in the machine coordinate system.
Step 2: Safe Unloading and Inversion.
Stop the machine and safely unload the part-and-fixture assembly or just the part.
Invert the part and secure it to the secondary location on the fixture or to a new fixture, using the pre-machined datum features for alignment. In high-mix environments, modular tombstone systems on pallet changers automate this process.
Step 3: Re-establishing the Work Coordinate System (WCS).
This is the most critical step. The inverted part is loaded back into the machine.
Using a machine probe, the machined datum features are measured. The CNC control then calculates the transformation between the original WCS and the new orientation.
This transformation data (often a rotation matrix and translation offsets) is input into the machine’s controller or the CNC program (using codes like G68.2 in Fanuc or TRAORI in Siemens) to “tell” the machine where the part now sits in space.
H3: Phase 4: Second Operation Machining & Verification
With the new WCS active, the machine now “sees” the inverted part in its correct orientation. The toolpaths for the second side are executed.
Throughout and after machining, on-machine inspection (OMI) with touch probes or laser scanners verifies critical dimensions, ensuring the two separately machined halves align perfectly.
H2: Key Applications Where Inversion is Critical
Understanding how to invert a 5 axis CNC machine process is particularly valuable for:
Aerospace Monolithic Structures: Machining intricate cooling channels and mounting points on both sides of an engine bracket or fuselage component.
Medical Implants & Instruments: Creating biocompatible features on all sides of a titanium spinal cage or a complex surgical tool handle.
Automotive & Motorsport Parts: Producing intake manifolds, cylinder heads, or suspension links with ports and connections on multiple faces.
Mold & Die Making: Machining deep, textured cavities in injection molds where electrode sinking would be too time-consuming.
Challenges and Advanced Solutions
Accuracy Loss: Every hand-off and re-fixturing introduces potential error. Solution: Invest in precision modular fixturing systems (like System 3R or Erowa) and use on-machine probing for automated datum pickup. GreatLight Metal’s commitment to ISO 9001:2015 and IATF 16949 standards ensures these processes are rigorously controlled and documented.
Increased Cycle Time: Manual inversion adds non-cutting time. Solution: Implement a twin-pallet changer or a robotic cell. One pallet can be machined while an operator inverts a part on the second pallet outside the machine, maximizing spindle uptime.
Complex Programming: Managing multiple WCS and tool orientations is error-prone. Solution: Utilize advanced CAM software (e.g., HyperMill, Mastercam, NX) with robust multi-axis and “multi-setup” programming modules that automatically handle coordinate transformations. GreatLight Metal’s deep engineering support includes creating collision-free, optimized toolpaths for such complex scenarios.
Case in Point: A client at GreatLight Metal needed a high-performance aluminum actuator housing for a humanoid robot joint. The part required deep, threaded blind holes on one face and a precisely aligned bearing seat on the opposite face, with a positional tolerance of 0.015mm between them. Using a custom aluminum fixture with machined reference pads and employing precise on-machine probing for WCS alignment after inversion, the team achieved the required tolerance seamlessly in two operations, eliminating the need for a more expensive four-operation plan.
Conclusion
How to invert a 5 axis CNC machine is, therefore, a synthesis of mechanical fixturing artistry, metrology, and sophisticated CNC programming. It transforms a standard 5-axis machine into an even more versatile production cell capable of manufacturing complete, intricate parts with unmatched precision. While the concept extends the physical capabilities of the machine, its successful execution hinges on the manufacturer’s systematic process control, engineering acumen, and investment in supporting technology. For projects where complexity and precision intersect, partnering with a manufacturer that has mastered these advanced techniques—like GreatLight Metal, with its integrated approach from DFM to final inspection—is not just an option but a strategic necessity to ensure part integrity, reduce lead times, and achieve cost-effectiveness in high-end manufacturing.
Frequently Asked Questions (FAQ)
H3: Q1: Is “inverting” different from using the full 5-axis simultaneous movement?
A: Yes. Full 5-axis simultaneous machining allows the tool to approach the workpiece at continuous compound angles without stopping. “Inversion” typically refers to a discrete reorientation event—either a physical flip of the part or a programmed index of the rotary axes to a new fixed position—to access a completely different side of the workpiece that was previously facing the machine table.
H3: Q2: What is the biggest risk when physically inverting a part between operations?
A: The greatest risk is accumulated error or “stack-up tolerance.” Errors can come from fixture repeatability, datum measurement inaccuracy, and thermal effects. Even small errors in each step can combine, causing misalignment between features machined in separate setups. This is mitigated by precision tooling systems and in-process verification.
H3: Q3: Can all 5-axis CNC machines perform programmatic coordinate system inversion?
A: Most modern 5-axis controllers support Workpiece Coordinate System Rotation (e.g., G68.2) or similar transformation functions. However, the ease and robustness of the process depend heavily on the machine’s calibration, the controller’s capabilities, and the operator’s/programmer’s skill. It’s a standard practice in advanced workshops.
H3: Q4: When should I choose a custom fixture over a standard modular system for inversion?
A: Standard modular systems (like pallet-based tombstones) offer excellent repeatability and faster changeover, ideal for batch production and high-mix environments. Custom fixtures are designed for optimal rigidity, access, and support for a specific, complex, or high-volume part. A manufacturer like GreatLight Metal evaluates production volume, part geometry, and precision requirements to recommend the most cost-effective solution.
H3: Q5: Does inverting a part significantly increase the overall project cost?
A: It can add cost due to the need for fixture design/manufacturing, additional programming, and extra machine setup/inspection time. However, it often results in a lower total cost compared to alternative methods, such as:
Using multiple simpler machines.
Designing the part as an assembly of multiple simpler pieces.
Resorting to slower, less precise secondary operations.
The value lies in achieving higher part integrity, better accuracy between features, and faster overall throughput for complex components. For more insights into advanced manufacturing partnerships, connect with industry leaders on platforms like LinkedIn{:target=”_blank”}.



















