
Beginner's Guide to Aluminum CNC Machining
This guide explains how aluminum behaves on a CNC, which alloys and tools to start with, and how to avoid the mistakes that ruin parts. It is written for design engineers and buyers who are new to aluminum work. By the end you can judge whether a part suits milling or turning, and what to put on the drawing.
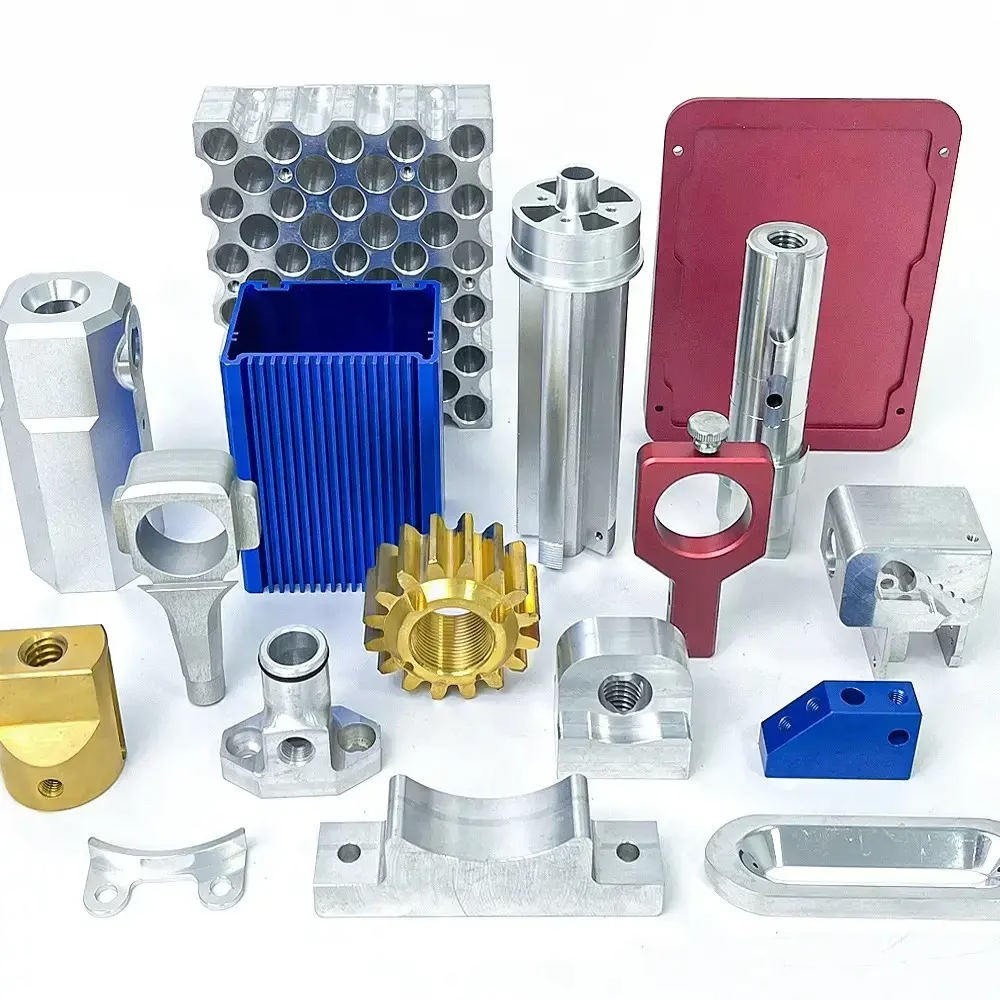
What This Guide Covers
Aluminum is the easiest metal to machine and the easiest to machine badly. The difference is usually in the setup, not the machine.
How Aluminum Behaves Under a Cutter
CNC machining uses preprogrammed toolpaths to cut metal. A CAD model goes into CAM software, the software writes G code, and the machine follows it. That part is the same for any metal. Aluminum behaves differently at the cutting edge. It is soft, it conducts heat away from the cut quickly, and it chips easily. Those three facts drive every decision that follows.
A beginner's aluminum CNC machining job usually starts with 6061-T6. The material cuts cleanly, holds a good finish, and does not need special handling. Cutters run fast because aluminum carries heat out with the chip rather than into the tool. That lets you use higher spindle speeds and feed rates than you would on steel.
The same softness causes trouble. Thin walls deflect. Deep pockets trap chips. A tool with too much flute contact rubs instead of cutting, and the surface tears. Most rejected aluminum parts come from chatter, poor chip evacuation, or workholding that let the part move.
- 1Chip evacuationAluminum chips are light and pile up fast. Air blast or through-coolant clears them.
- 2Thermal growthLong parts grow as they warm. Rough, cool, then finish.
- 3Built-up edgeToo low a surface speed smears material onto the cutting edge.
- 4Thin wallsBelow about 1 mm, deflection becomes the limiting factor.
Choosing an Aluminum Alloy
Pure aluminum is soft and rarely used for machined parts. Alloying elements change strength, corrosion resistance, and how the material machines. Copper and zinc raise strength. Magnesium improves corrosion resistance and weldability. Silicon improves casting behavior and wear resistance.
For general machining, 6061-T6 is the default. Yield strength is around 276 MPa, it welds and anodizes well, and the price is reasonable. Use 7075-T6 when you need high strength: yield around 503 MPa. It cuts well but is less weldable and costs more. If the part will be bent or formed after machining, pick 5052 or 5083 instead, because they tolerate bending far better.
Some alloys exist for specific jobs. 2024 machines to a fine finish and is common in aerospace, though it needs corrosion protection. 6082 is similar to 6061 with slightly better strength and is widely stocked in Europe. ADC12 is a die-casting alloy, not a billet grade, so it belongs in a different process.
- 16061-T6Default choice. Good strength, finish, weldability, and cost.
- 27075-T6High strength. Poor weldability. Use for stressed structural parts.
- 35052 / 5083Best formability. Lower strength. Good for enclosures and brackets.
- 42024Aerospace grade. Fine finish. Needs anodize or coating.
Alloy Comparison for Machined Parts
Values are typical for the temper shown. Actual properties depend on stock and heat treatment.
| Alloy | Typical yield | Relative machinability | Best for |
|---|---|---|---|
| 6061-T6 | 276 MPa | Good | General parts, fixtures, housings |
| 7075-T6 | 503 MPa | Good | Aircraft, high-load brackets |
| 2024-T4 | 324 MPa | Very good | Aerospace skins and ribs |
| 6082-T6 | 310 MPa | Good | European structural parts |
| 5052-H32 | 193 MPa | Fair | Formed panels, weldments |
| 5083-H116 | 228 MPa | Fair | Marine and pressure vessels |
| 6063-T5 | 170 MPa | Excellent | Extrusions, frames, trim |
Tools, Fixtures, and Workholding
Aluminum cuts with two or three flute end mills. Two flutes leave more room for chips in a deep pocket. Three flutes run faster in light finishing passes. Coatings help at high speed; uncoated carbide works fine at moderate speed. High-speed steel is usable but wears out quickly in production.
Workholding decides whether the part comes out flat. A vise is fine for a block with a solid base. When the part is thin or has an open shape, hold it on a fixture plate with soft jaws or a vacuum chuck. Clamp lightly. Aluminum marks easily, so protect finished faces with shim stock.
For thin floors, leave a roughing allowance, unclamp, let the part relax, then take a light finishing pass. This single step solves most flatness complaints. Drill with a 118° point for general holes and a 135° split point when the drill may wander on a curved surface.
- 12-flute end millDeep pockets and slotting where chip room matters.
- 23-flute end millGeneral roughing and finishing at higher feed rates.
- 3Chamfer toolAdd 0.5 mm chamfers to remove sharp edges and burrs.
- 4Spot drillPrevents the drill from walking on angled or curved surfaces.
Milling, Turning, and When to Use Each
Milling removes material with a rotating multi-point cutter while the part stays fixed. It suits pockets, slots, flats, and complex 3D shapes. Turning spins the part against a single-point tool and suits round parts: shafts, bushings, threaded studs, and fittings. Mill-turn centers do both in one setup, which cuts the error that comes from re-fixturing.
For beginners aluminum cnc machining, the common question is which axis count a part needs. Three axes handle parts that can be reached from one direction. Four axes add rotation around the X axis, useful for parts with features on several faces. Five simultaneous axes allow undercut contours, deep pockets with sculpted floors, and impellers or turbine-like geometry.
Not every part needs five axes. Adding axes raises programming time and inspection cost. A three-axis part with a simple flip fixture is often cheaper and just as accurate.
- 13-axisPlates, housings, and brackets reached from one side.
- 24-axisCylindrical parts and multi-face features on one setup.
- 35-axisSculpted surfaces, undercuts, and single-setup complex geometry.
- 4Mill-turnRound parts with milled flats, holes, or slots.
Tolerances, Finishes, and Deburring
Aluminum is stable, so tight tolerances are realistic. A general machining tolerance of ±0.05 mm covers most parts. Critical features can hold ±0.005 mm when the setup and inspection plan support it. Do not put tight tolerances on every dimension. They drive cost and inspection time without improving function.
Surface finish depends on the toolpath and the cutter. As-machined aluminum usually lands between Ra 1.6 and 3.2 μm. Finer passes reach Ra 0.8–1.6 μm. A polished or lapped surface can reach Ra 0.2–0.8 μm, but that is rarely needed unless the part seals or slides.
Deburring is not optional. Sharp edges cut hands, trap dirt, and start cracks. Break all edges with a 0.5 mm chamfer or a small radius. After machining, anodizing adds a hard oxide layer and color, while bead blasting produces a uniform matte look that hides tool marks.
- 1General tolerance±0.05 mm is enough for most non-critical features.
- 2Precision tolerance±0.005 mm on fits, bores, and locating surfaces.
- 3As-machined finishRa 1.6–3.2 μm. Fine passes reach Ra 0.8–1.6 μm.
- 4AnodizeAdds wear resistance and color. Builds up 5–25 μm per surface.
Common Problems and Fixes
Chatter shows up as parallel marks on a wall. It comes from a tool that is too long for its diameter, a weak setup, or a spindle speed that matches a natural frequency of the part. Shorten the tool, increase the feed, or change the speed. Adding a support under the part often helps more than any speed change.
Poor finish on a floor usually means the cutter is rubbing. Increase the surface speed and reduce the stepover. A worn tool produces the same result, so check the edge before blaming the program.
Dimensional drift across a batch points to heat. Measure at a consistent temperature. If the machine and part are warm from a long run, let the part cool before the final inspection.
- 1ChatterShorten tool overhang, stiffen the setup, adjust speed.
- 2Torn finishRaise surface speed, replace the cutter, add coolant.
- 3BurrsSharpen the tool and add a chamfering pass.
- 4Size driftControl temperature and check the tool for wear.
Frequently Asked Questions
What is the best aluminum alloy for a first CNC part?
6061-T6 is the safest starting point. It machines cleanly, holds a good finish, anodizes well, and is easy to source in most thicknesses.
Only move to 7075 or 2024 when the part carries real load or needs high strength. Those alloys cost more and are harder to weld.
How tight a tolerance can aluminum hold?
A general tolerance of ±0.05 mm is realistic for most features. Critical bores and fits can hold ±0.005 mm when the setup and inspection plan support it.
Tight tolerances on non-functional dimensions add cost without adding value. Put them only where the design needs them.
Do I need 5-axis machining for my part?
Most parts do not. Three axes with a simple flip fixture handle plates, housings, and brackets at lower cost.
Five axes pay off when the geometry has undercuts, sculpted surfaces, or features that would otherwise need three or four separate setups.
Why do thin aluminum walls distort after machining?
Residual stress in the stock releases as material is removed, and the part bends away from the cutter. Clamping pressure adds to the problem.
Rough, unclamp, let the part relax, then take a light finishing pass. Symmetrical material removal helps too.
Can machined aluminum parts be anodized?
Yes. Clear and color anodizing are common, and hardcoat anodizing adds wear resistance for sliding or rubbing surfaces.
Anodizing builds up the surface, typically 5–25 μm per side, so account for that on threads and fits. Specify masking where you need electrical contact.
What do I need to send for a quote?
Send a 3D model in STEP or IGES plus a 2D drawing with tolerances, finish, material, and quantity. A PDF drawing is fine if it carries the critical dimensions.
Note any cosmetic requirements and whether the part will be anodized or plated. Those details change the toolpath and the inspection plan.
Send Us Your Aluminum Part
Upload a model and drawing, and we return a quote plus a free DFM review within 12 hours. No minimum order quantity, from one prototype to 10,000+ parts.
12-hour quote100% inspectionNDA on request









